Do you remember the feeling you would get as a child when your birthday or Christmas were approaching and you were super excited about receiving and opening gifts? Well that’s the feeling that I had earlier this week while I waited (maybe not so patiently) for a package. Then finally it arrived a couple of days ago. There’s nothing like receiving HAPPY MAIL. It just brightens your day.
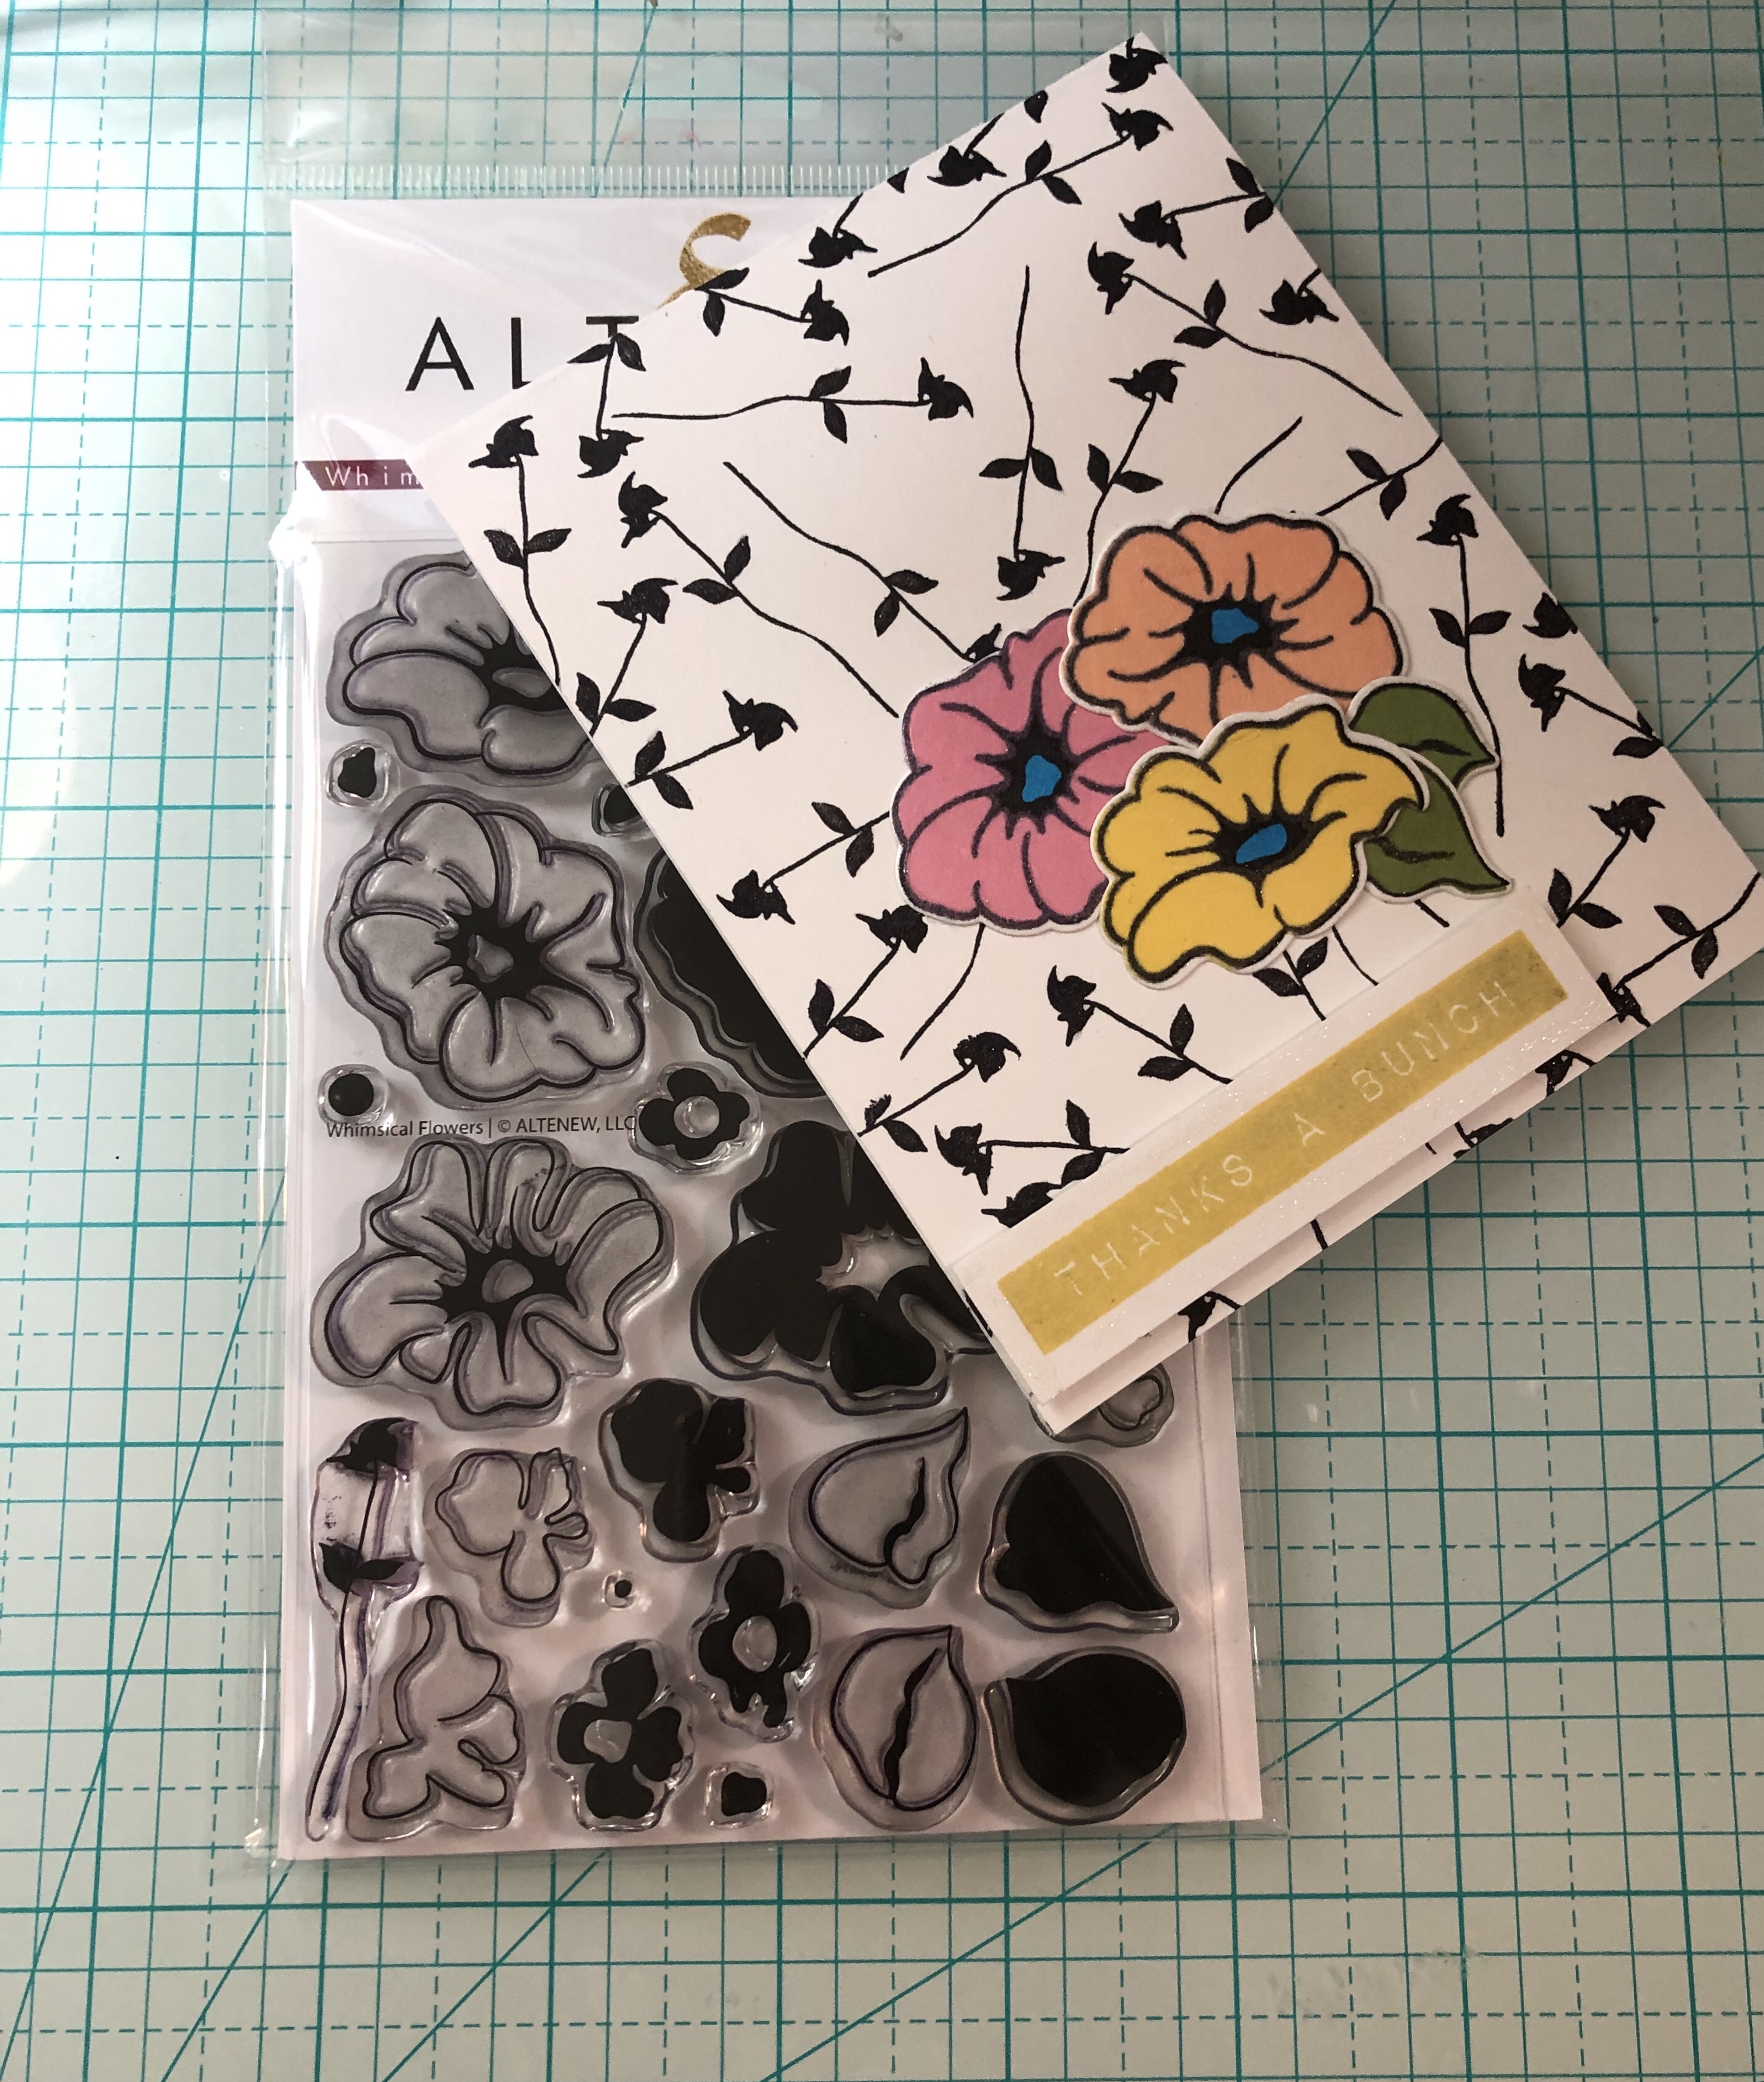
My HAPPY MAIL contained the Altenew Whimsical Flowers stamp and die set (along with some other goodies). I have to tell you that I was chomping at the bit to play around with this set. The flowers are super cute, almost cartoon like which I absolutely love! This set is quite versatile. You can use the outline stamp and and the corresponding solid image to finish the flower (can you say time saver!) or you can use the outline by itself and use watercolors, markers, colored pencils, etc. to add color.
I had so much fun creating this card. Below are a few photos and a brief walk through of how I put the card together. Thanks for stopping by. Hope you enjoy!
Don’t forget to spread kindness! – Ouma
This blog contains paid advertising banners and affiliate links. Banners and affiliate links may be used at no additional cost to you. This means I get paid a small commission when you shop with a company using a link I provide. I am not paid by any company to use their products (all products used in my posts have been purchased – by me) and should this ever happen, I will disclose that in a specific post.

My first step was creating a background using one of the flower stems from the set. The images were stamped on Neenah Classic Crest 110lb Cardstock Solar White. After stamping the image repeatedly using Altenew Jet Black Ink, I added a touch of shimmer to the images using a Wink of Stella clear brush.


Next up was stamping the individual flower images. I used my stamp positioner to stamp the outlines and then filled each in using the corresponding solid stamp. Then I die cut the images using the Altenew Whimsical Flowers die set.


After die cutting the flowers and leaves, I stamped a sentiment using the Label Love stamp set from Altenew. Here is where I have to admit that I got into a bit of a rush and didn’t clean my stamp off completely. When I stamped the image, it turned out a bit mottled but I actually like! Who says mistakes are bad??

After die cutting the sentiment I adhered foam tap to the back to add a bit of height and dimension. The final touch was to add shimmer (Wink of Stella) to the flowers and the sentiment. The camera does not do it justice. In person the shimmer is spectacular!
Voila! Here’s the finished card.


What a great background and colors on this card.
Thank you!
Love your process of stamping, Takisha! I really like the leafy branches for the background! Thanks so much for entering your beautiful work in Altenew AECP assignment Gallery. Beautiful colors and design. Well done! ps: The photos size can go down one size smaller if you can adjust it.