Hello and Welcome to another edition of OumaCrafts!
It’s February and I do believe I have a case of the winter blues. We’ve actually had a pretty mild winter here in South Texas, at least as far as the temperature goes. We’ve had a few cold days but nothing even close to what my friends and family in the Mid-West have been experiencing. The gloominess and lack of sunshine however have been pervasive. I AM SO READY FOR SPRING!! More daylight, the sounds of birds chirping and flowers in bloom. Daydreaming about Spring inspired today’s project. A little bit of Spring while I wait for the calendar to catch up.
Let’s get started!
This blog contains paid advertising banners and affiliate links. Banners and affiliate links may be used at no additional cost to you. This means I get paid a small commission when you shop with a company using a link I provide. I am not paid by any company to use their products (all products used in my posts have been purchased – by me) and should this ever happen, I will disclose that in a specific post.

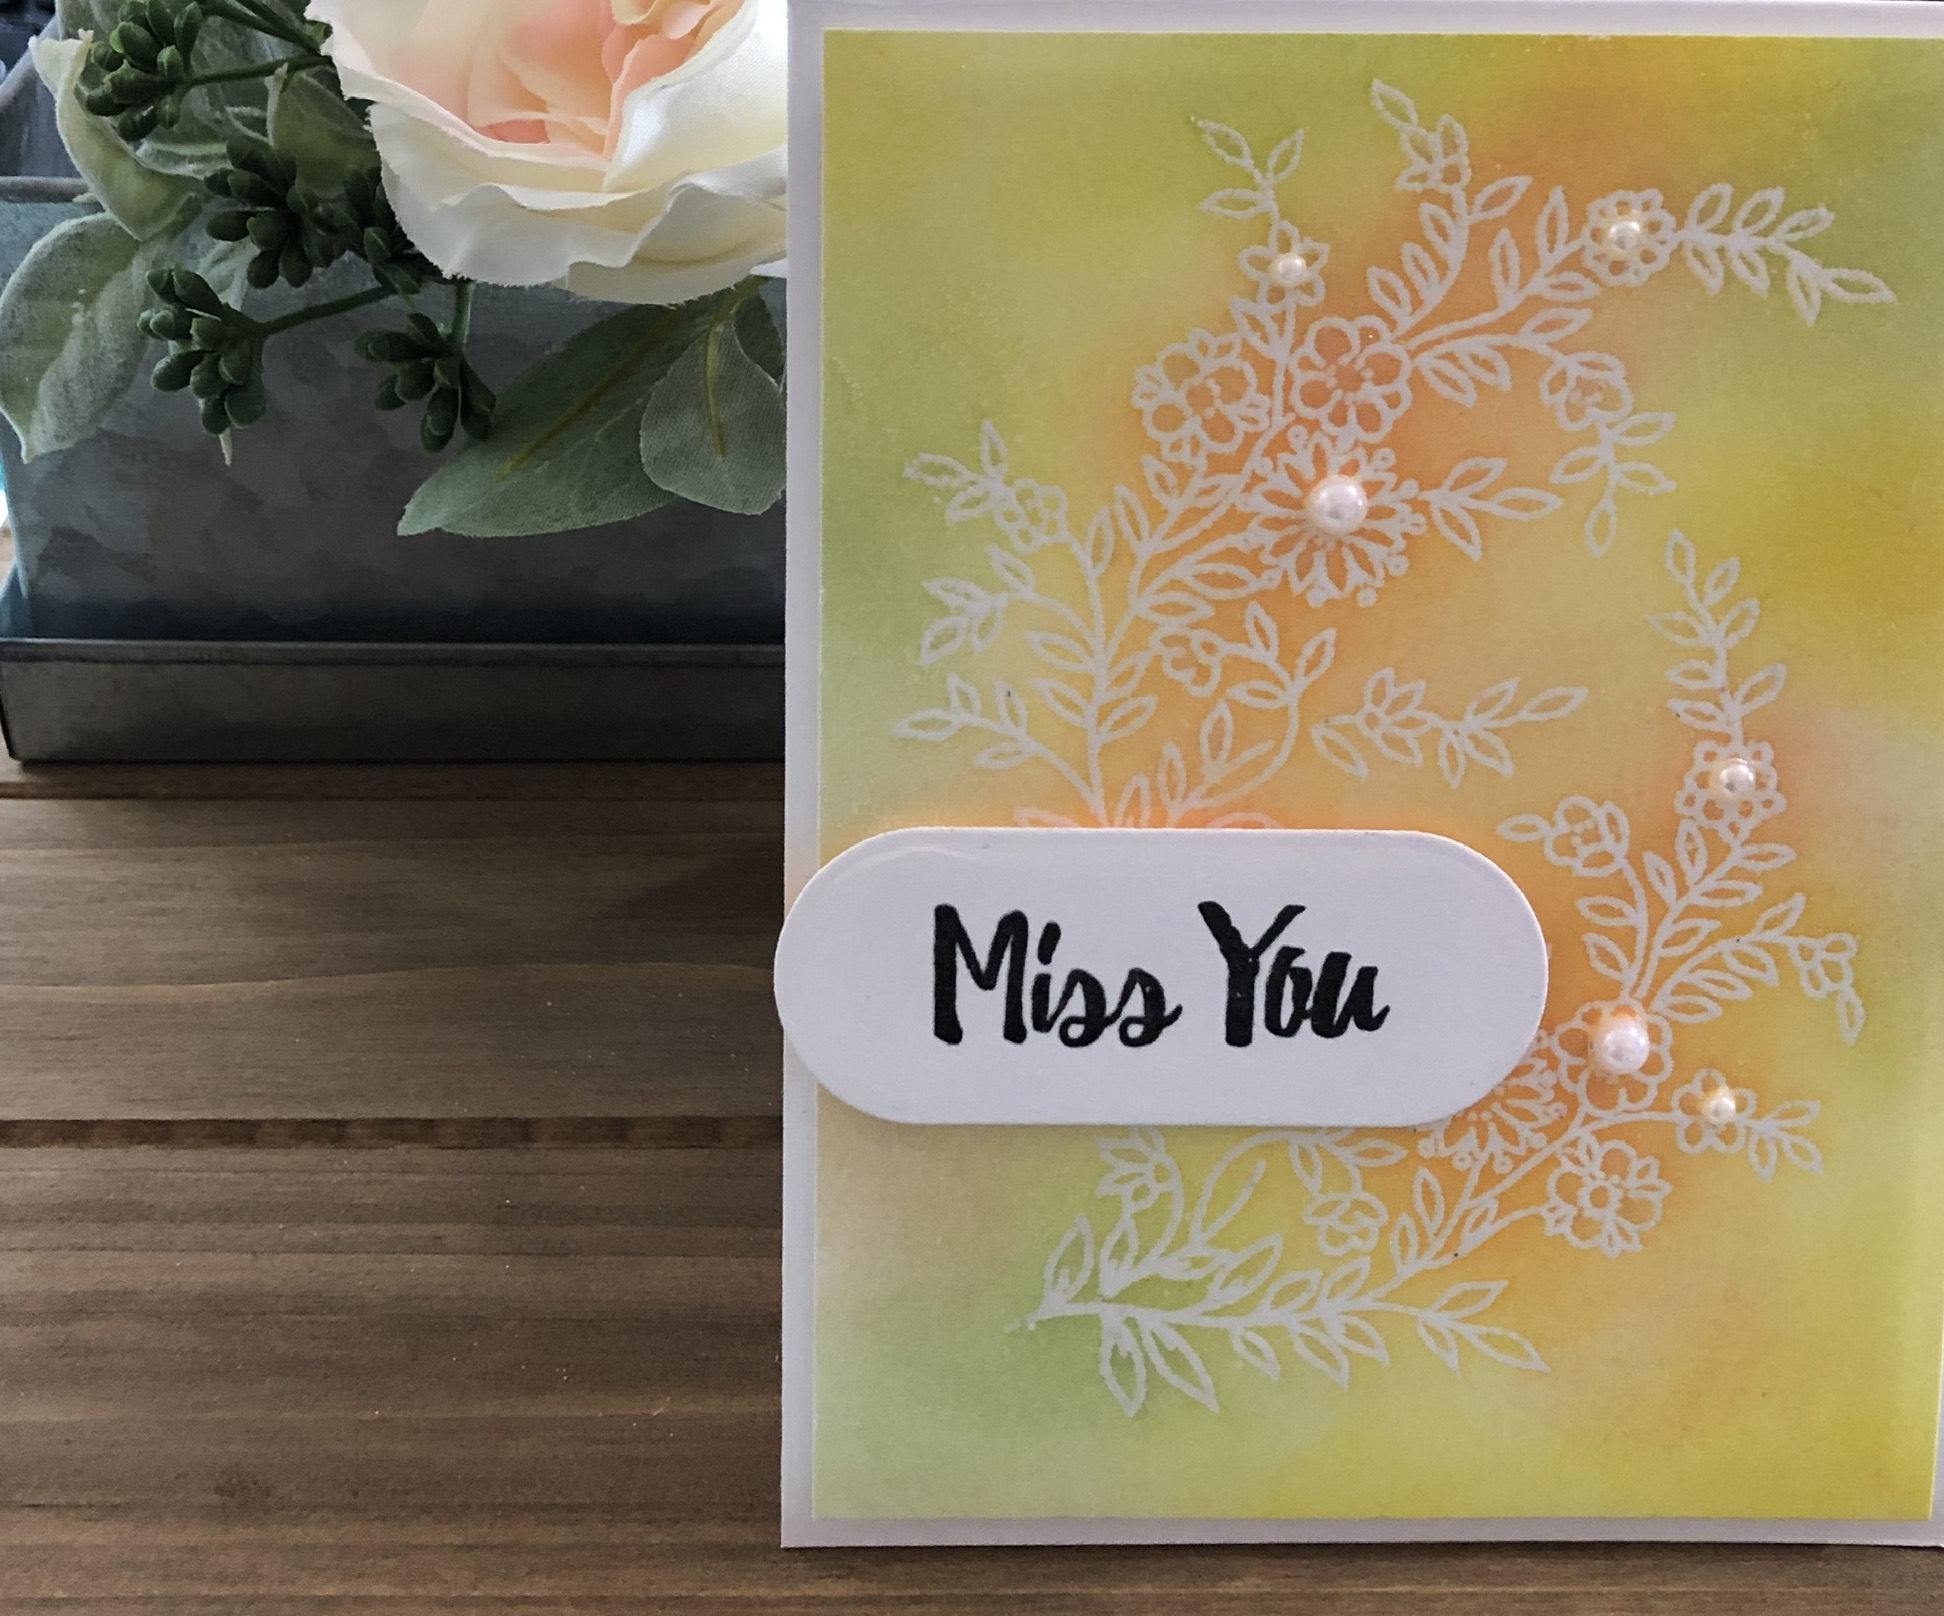
The stamp set featured today is Flower Vine from Altenew.

I started by placing a piece of Neenah Classic Crest card stock in my stamp platform. Both large flower stamps were placed in the positioner and inked using embossing ink.

Once the images were stamped, I covered both with clear embossing powder. After removing the excess powder, I used a heat gun to melt the powder. It is important to note that I always let my heat gun warm up for a couple of minutes before using. I also apply heat in a circular motion making sure that I do not stay in one spot to long. Leaving the heat gun in one spot for to long can lead to scorched paper (I’ve done that a time or two).

After making sure that all of the embossing powder was melted, I began to apply ink using a mini ink blending tool. I applied the ink in a random pattern until I achieved the desired color mixture.


Once I was happy with the color, I gently wiped the images with a paper towel in order to remove any ink that might be sitting on top of the embossed images; 1/4 in was then trimmed from all four sides.

I used a clear glitter brush to apply sparkle to all of the flowers and leaves. The Miss You sentiment was stamped using Altenew Permanent Black Ink and cut out using a round sentiment strip. I attached foam to the back of the strip using a strong adhesive and then applied it to the card.

Another piece of foam was trimmed and adhered to the card panel using strong adhesive. The panel was then attached to a top folding card base using the same adhesive.
I initially thought I was finished at this point, but the more I looked at the card the more I felt that something was missing. I finally decided to add flat back pearls to the centers of a few of the flowers and that made all the difference.


Thanks again for stopping by. I hope that you saw or read something to inspire you not only to create, but to spread kindness and love. Until next time. – Ouma


Simple yet stunning!! Thanks so much for entering your beautiful work in the AECP assignment Gallery. Beautiful colors and design. Well done!
Thank you!