I love the outdoors and I love flowers. Every Spring, I clear my flower beds, lay fresh mulch, plant fresh flowers and trim the ones that have survived Winter. Luckily this Winter has been very mild, no ice or snow like the previous Winter so things are looking pretty good. In a few weeks it’ll be time to plant. I CAN’T WAIT!!!! In the meantime, I think I will surround myself with beautiful stamped flowers (a very worthy substitute).
This blog contains paid advertising banners and affiliate links. Banners and affiliate links may be used at no additional cost to you. This means I get paid a small commission when you shop with a company using a link I provide. I am not paid by any company to use their products (all products used in my posts have been purchased – by me) and should this ever happen, I will disclose that in a specific post.

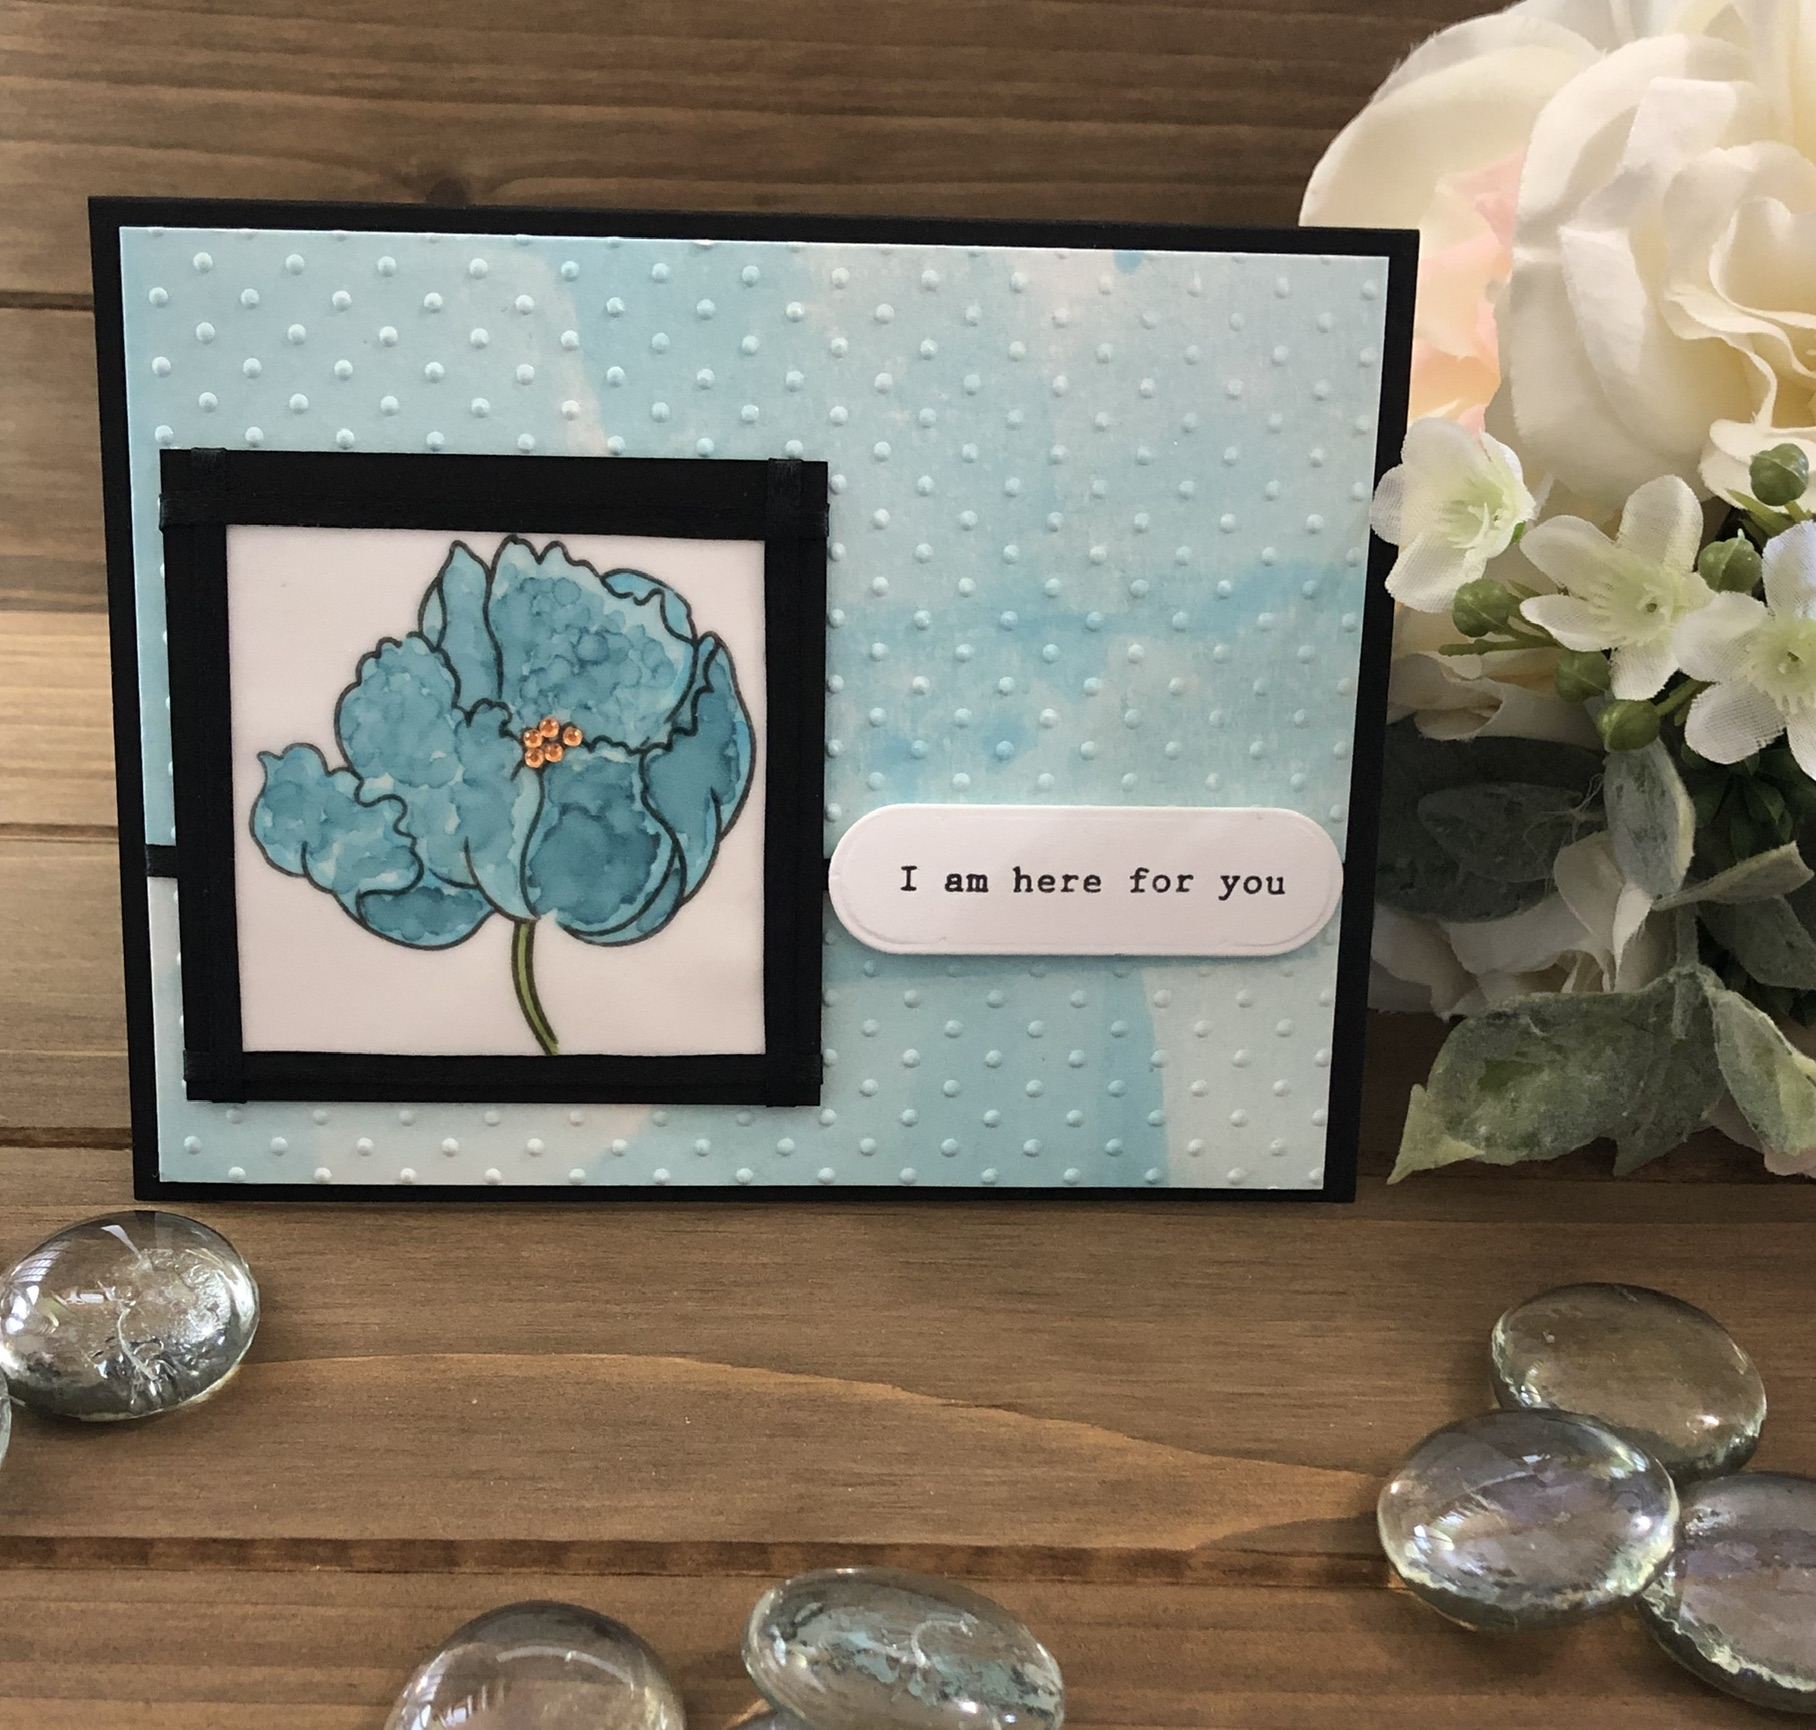
The star of today’s post is the Build-A-Flower Poppy Stamp set from Altenew. I absolutely LOVE Altenew’s Build-A-Flower stamp sets. They have so much detail and are extremely versatile. The flower (Poppy) in this set has three layers. I only used the outline for this card, but you can see that adding the other two layers would make a lovely lifelike flower.


The first step in creating this card was preparing the vellum by brushing the entire sheet with an anti static powder tool. Next, the two flower outlines were stamped on to sheet of vellum. The images were stamped with Altenew Permanent Black Ink using a stamp platform/positioner. I can’t emphasize enough how important this tool is to my process. After stamping with the black ink, I cleaned both stamps and inked them up with embossing ink.

After stamping with the embossing ink, I covered both images with clear embossing powder. Once the images were covered, the powder was shaken off (and placed back into the container to be re-used) and a heat gun was used to melt the powder.
It is important to note that I made sure that the heat gun was good and hot before bringing it to the vellum. This way, there was less of a chance of burning the material. Vellum is extremely delicate.

I flipped the image over and used Altenew Cool Summer Night and Green Fields Artist Markers to add color.


Next, I trimmed the vellum and adhered it to a piece of Neenah Classic Crest 110 lb cardstock using a strong adhesive. Orange sequins were placed in the center of the flower and black ribbon was wrapped around the edges to create the look of a frame.

For the base of the card I started by applying the Desert Night Artist Marker to my glass cutting mat. I added a splash of rubbing alcohol to the patch and rolled a brayer through it. The brayer was then rolled over a piece of Neenah Classic Crest 110 lb cardstock in various directions.


After letting the paper dry for a few minutes, I placed it in an a Swiss Dot embossing folder and ran it through my Cuttlebug.

A strip of black ribbon was run across the card. A foam sheet was placed on the back and then adhered to a top folding card using strong adhesive.


The flower frame was placed on the card and the “I am here for you” sentiment from the stamp set was placed next to it.


I really enjoyed creating this card. The brayering technique was new for me but I will most definitely use it again.
Thank you for stopping by. I hope that you have seen or read something here that will not only inspire you to create, but to spread kindness as well. Until next time! – Ouma

This is very pretty!
Thank You!!
That’s a beautiful card! I am amazed to see all that gorgeous texture on the vellum! I like your background too, looks really good!
I am so glad that you entered your beautiful work in the AECP assignment Gallery. Awesome details and design! Super work!
Thank You!!