Hello and Happy Wednesday! It is hard to believe that it is already March 6th!! The older I get, the faster time seems to pass. I am however excited to see the days on the calendar moving closer towards Spring and the end of the month. Spring is the season for new beginnings. For me, this Spring is bringing big change. Change that I am truly excited about.
Spring is also the season for new babies. Everywhere I look it seems someone is about to welcome a new person into their family. That beautiful process is what inspired me to create today’s card.
This blog contains paid advertising banners and affiliate links. Banners and affiliate links may be used at no additional cost to you. This means I get paid a small commission when you shop with a company using a link I provide. I am not paid by any company to use their products (all products used in my posts have been purchased – by me) and should this ever happen, I will disclose that in a specific post.

The focus of today’s card is the beautiful Cube Background that was created using the Altenew Cube Builder Stencil.

The first step in creating the background was taping the stencil to a 4/14 in x 5 1/2 piece of Neenah Classic Crest 110lb card stock. The stencil was then taped to my glass cutting mat to prevent shifting.

Once the stencil and card were secured to the mat, I applied Altenew Frosty Pink Ink using a Blending Brush . After applying the Frosty Pink layer the stencil was flipped, re-secured to the cutting mat and a layer of Altenew Arctic Ink was added .


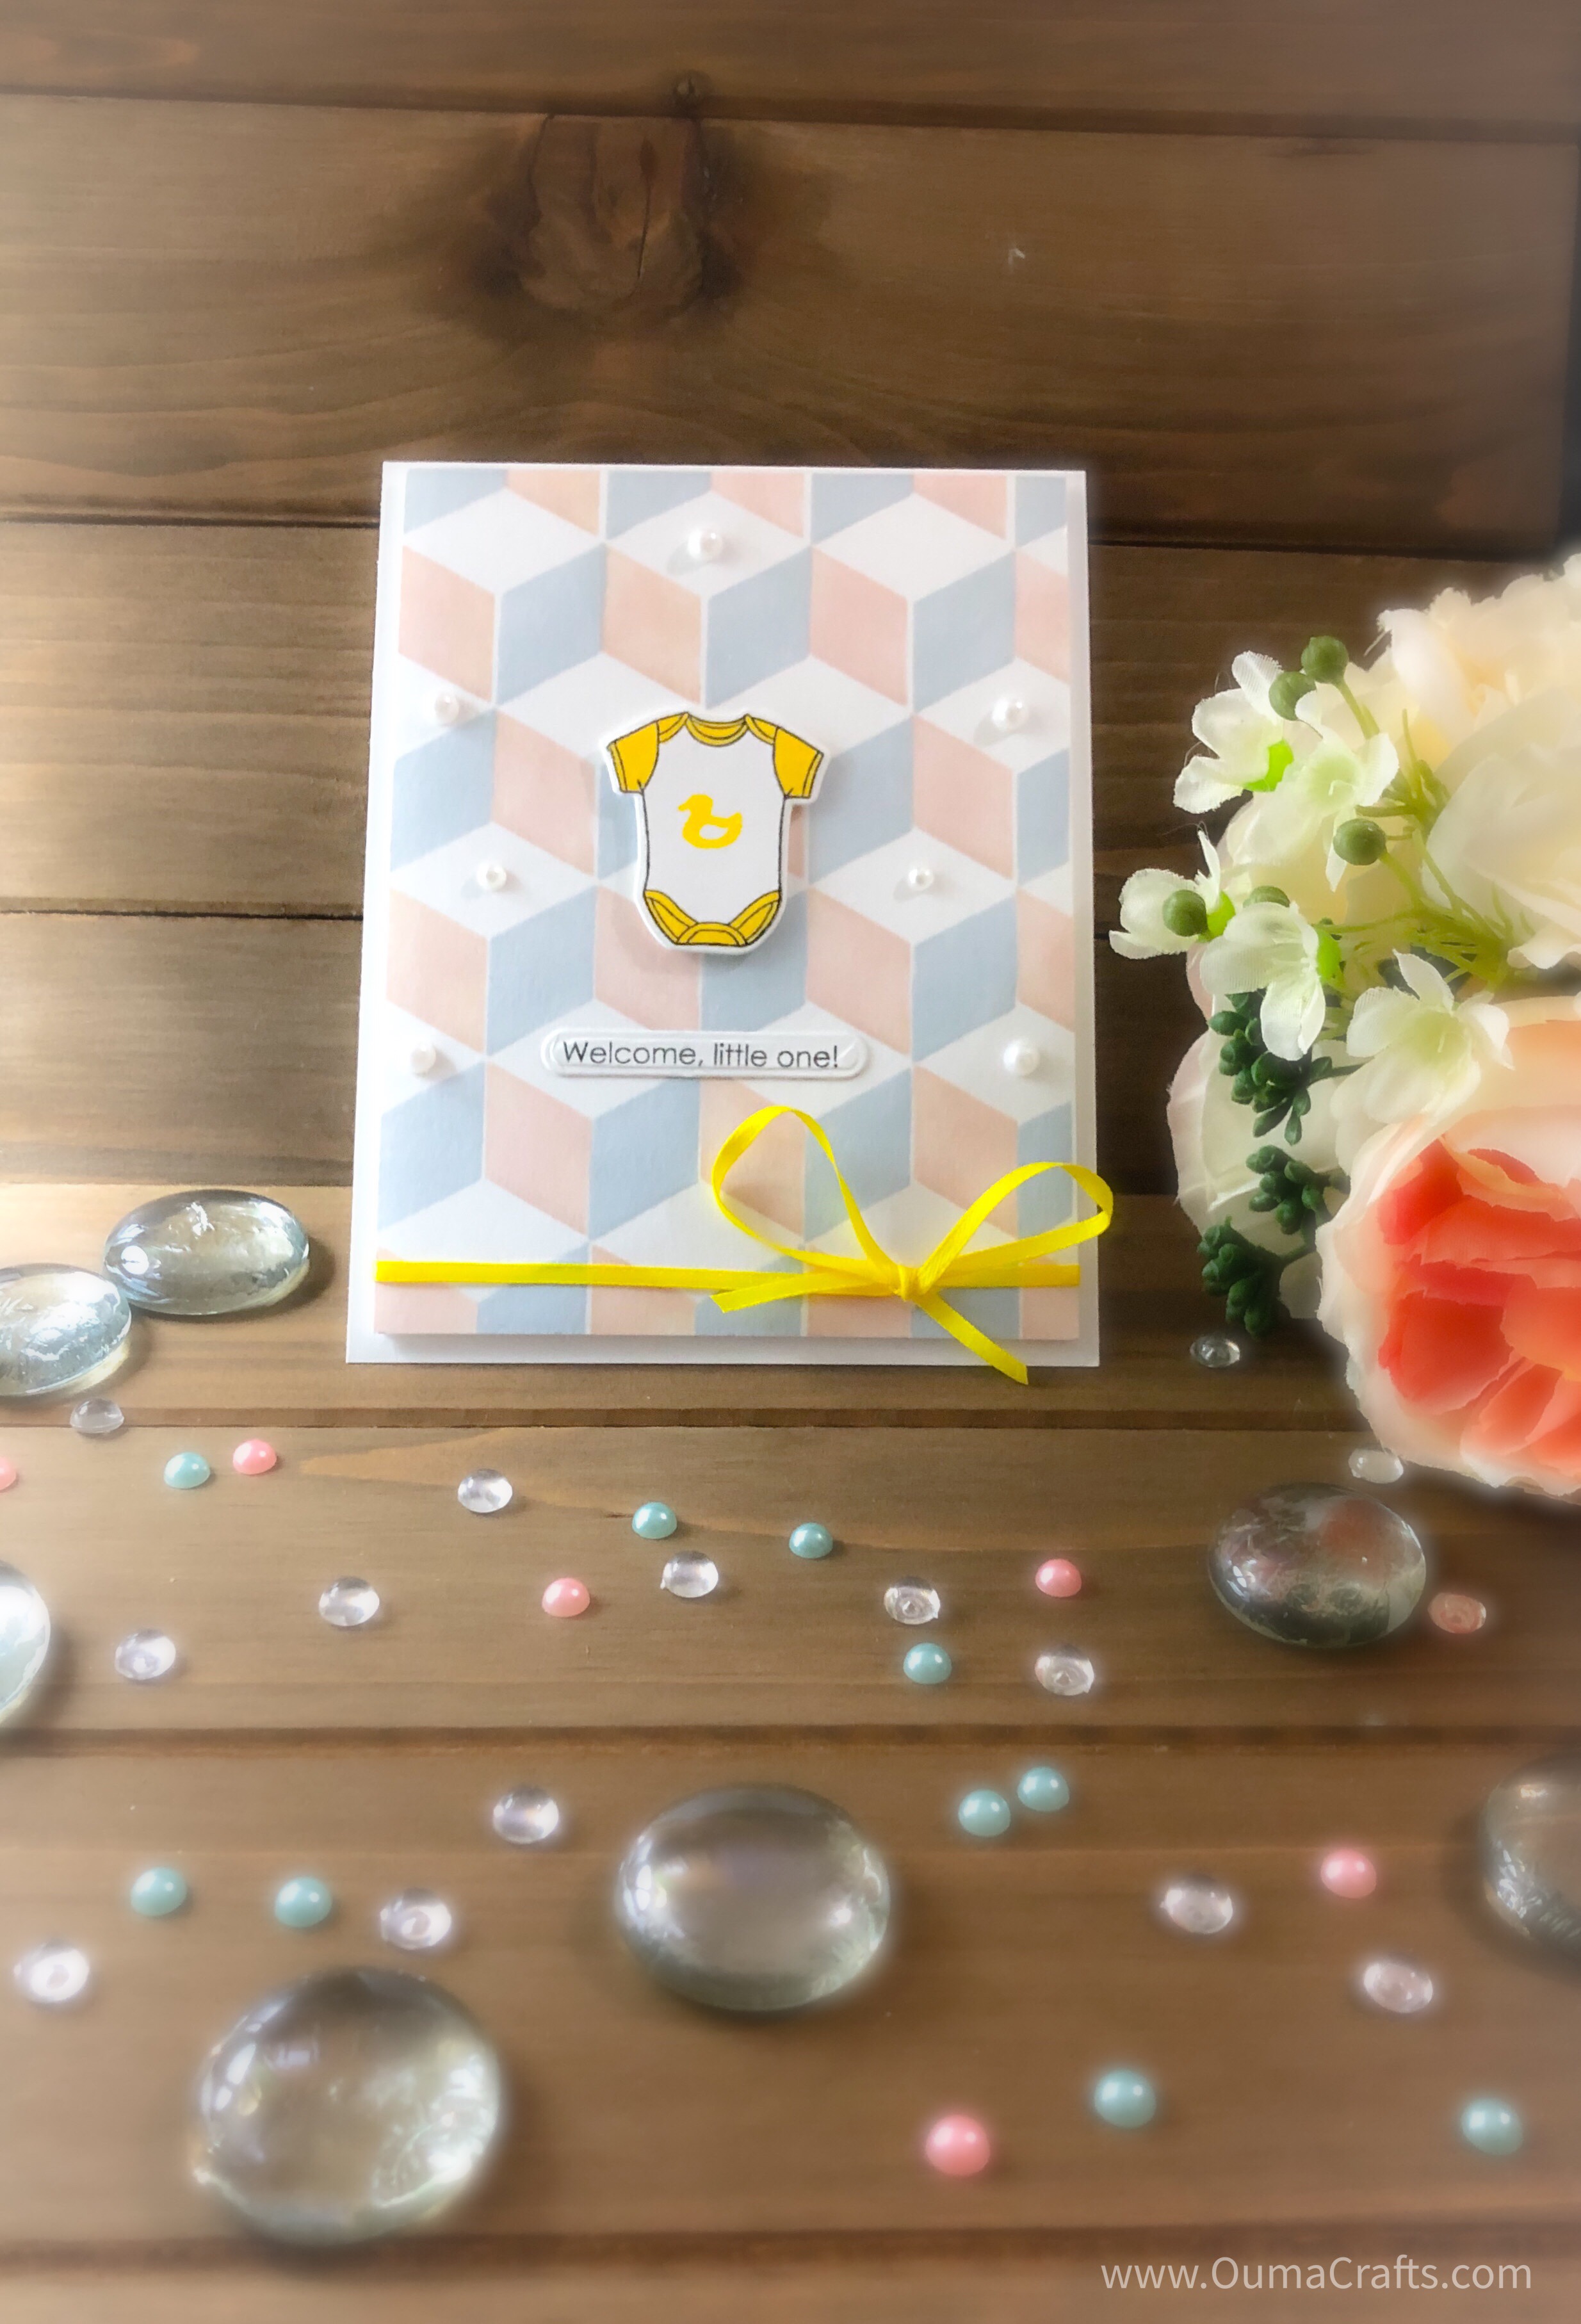
Next, I stamped images from the Altenew Little One Stamp & Die set in Permanent Black and Maple Yellow. The corresponding dies were then applied over the images and cut using a die cutting machine.


After trimming the stamped background, a piece of foam was attached to the back using strong adhesive. A piece of yellow ribbon was wrapped around the stamped background and then it was secured to a top folding card base.


The ribbon was tied in a bow and secured to the background using strong adhesive. The “Welcome Little One” sentiment from the set was stamped onto a piece of scrap card stock and die cut using a sentiment strip die.

The last step was adding white flatback pearls to the background to add dimension.

I LOVE the way this card turned out. The Cube Stencil Background works wonderfully with the Little One Stamp set.
That does it for today. Thank you for stopping by. I hope that you have seen or read something that inspires you to create your own work of art. Until next time…Don’t forget to spread kindness. – Ouma

OMG OMG OMG! How cute is this?!! I absolutely love it!!
I am so glad that you entered your beautiful work in the AECP assignment Gallery. Awesome details and design! Super work!
Thank You Erum!