This blog contains paid advertising banners and affiliate links (Shopping/Affiliate Disclosure). Banners and affiliate links may be used at no additional cost to you. This means that I may get paid a small commission when you shop with a company using a link I provide.
I am not paid by any company to use their products (all products used in my posts have been purchased – by me) and should this ever happen, I will disclose that in a specific post. – Ouma
HELLO! HELLO! HELLO! I’ve been away for bit but I am back in full force!! A lot has happened since my last post. I won’t bore you with this details here, but let’s just say I am working through a beautiful transition. One that I am very thankful and grateful for.
Having said that, I will apologize ahead of time for the quality of the pictures in my next few quotes. Part of my “beautiful transition” is learning how to use new equipment and software in addition to revamping my workspace (which I am super EXCITED about). More to come on all of that. Once I get everything exactly where I want it, I will share the scary before and calming after (LOL) pictures.
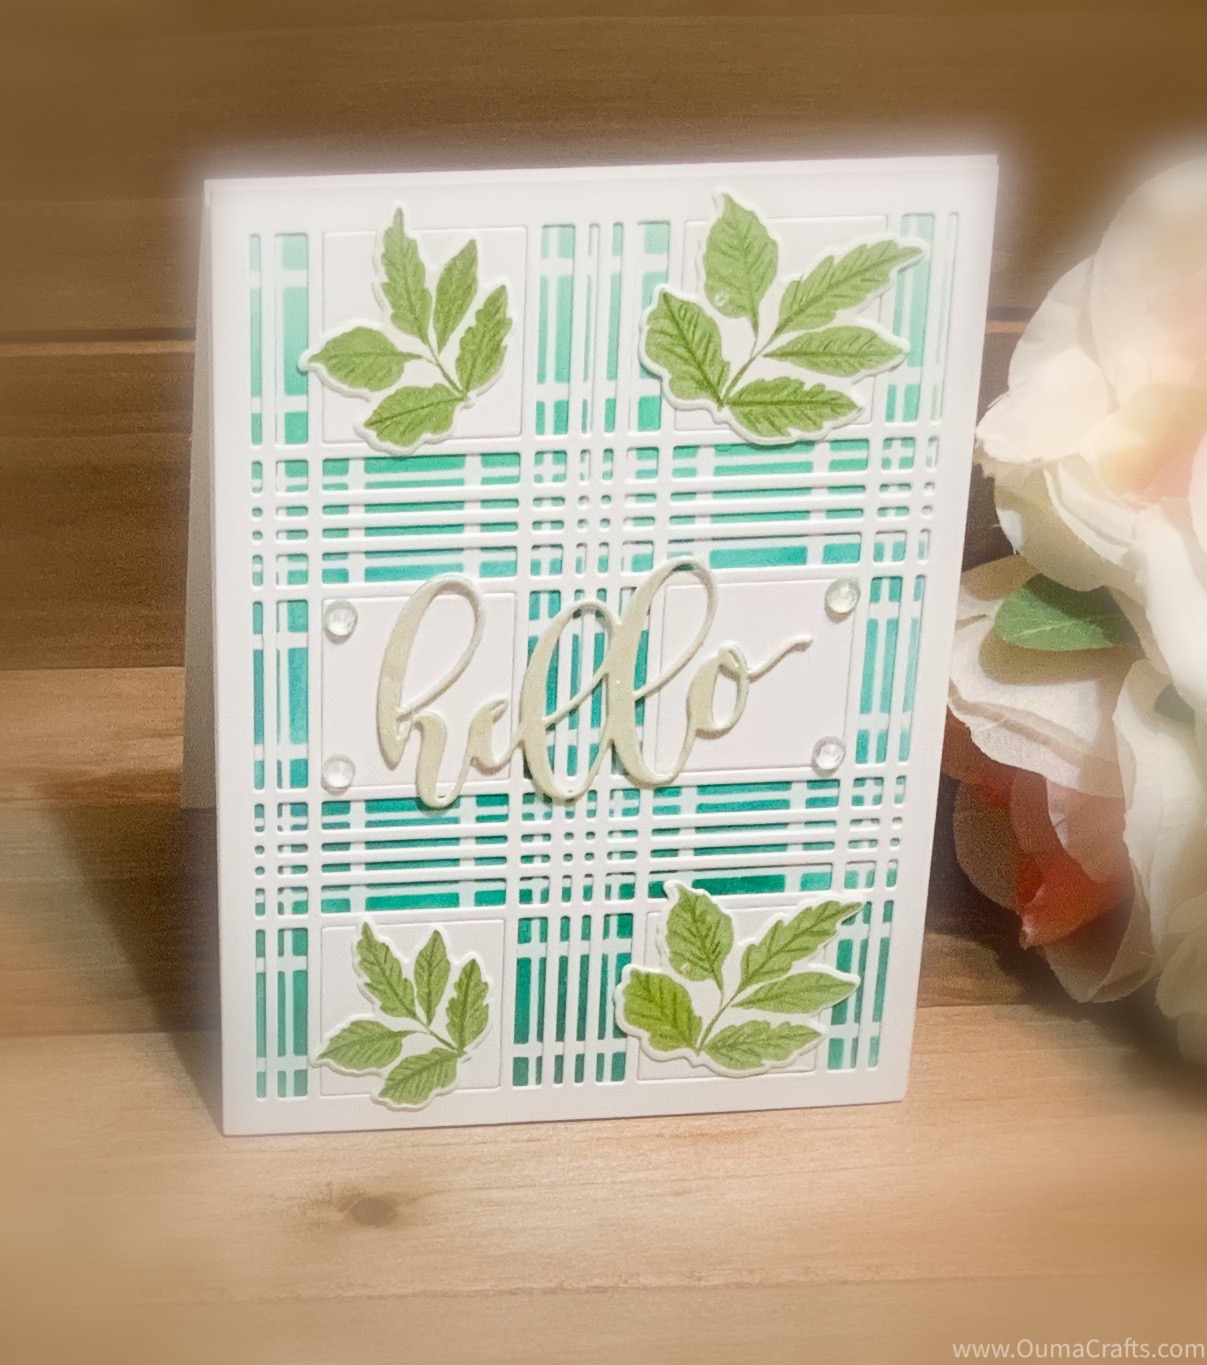
Today’s card/project is all about adding simple details to a card. This is a small nugget of what I learned from the Beautiful Details class offered through Altenew Academy. I hope you like it.
Let’s dive in shall we!

Today’s card/project starts out with the Floral Arrangement Stamp and Die Bundle from Altenew.

I began by using a stamp block and a Forest Glades Ink Cube to stamp multiple images of the small and large (solid) leaves from the set.

After stamping multiple sets of leaves, I used colored pencils to draw in the veins on each.

Next I cut a piece of heavy weight Cardstock using a die cutting machine and the Layered Plaid Cover Die Bundle from Altenew.

Here is what the two cuts look like layered on top of each other.

In this step, I used purple and washi tape to adhere one of the layers (Die B) to a piece of heavy Cardstock. Next I used a blending brush to apply each of the four colors shown to the left.

Here you can see the result after the “stencil” was removed. This panel was then trimmed down to 4 1/4 in x 5 1/2 inches and placed under the second (Die A) die cut. The pieces were secured using strong adhesive liquid glue.


Next I cut the word hello using the die from the Floral Arrangement Bundle (and a die cutting machine and patterned paper) three times. The three layers were glued together using a strong adhesive.
I replaced six of the squares that came out of the die cut and adhered the “hello” die cut on top of the card. Foam tape was placed on the back of the panel and then it was placed on top of a top folding note card.

The final (and not so easy) step was to choose four leaves that I wanted to be front and center. Four clear embellishments were added and a touch of sparkle was added to make the “hello” sentiment stand out.


Here is the final product. I hope you like it. Thank you so much for stopping by. I hope that you’ve seen or read something that encourages and inspires you.
Until next time. Don’t forget to spread kindness! – Ouma


Gorgeous card! Though my eyes blurred a little because of the photo effect and my VM.
I appreciate you posting photos as you progressed, it’s very helpful. Love the ombre inking, adds a special touch!
Thanks so much for entering your beautiful work in the AECP assignment Gallery. Beautiful colors and design. Well done!
Thank you 🙂
Love your process photos and progression of your card, Takisha! I am glad that you are back in full force! Thanks so much for entering your beautiful work in Altenew AECP assignment Gallery. Beautiful colors and design. Well done!
Thank You Virginia!