Hello and Happy Wednesday!
Thanks so much for dropping by. Today’s card/project is all about adding a little color AND inspiration to someone’s (or your) day. I was inspired to create it after completing the Color Your Day Class offered through Altenew Academy. There is just something about the color yellow that brightens the gloomiest of days. This card is meant to INSPIRE and UPLIFT.
With that being said let’s dive right in.
This blog contains paid advertising banners and affiliate links (Shopping/Affiliate Disclosure). Banners and affiliate links may be used at no additional cost to you. This means that I may get paid a small commission when you shop with a company using a link I provide.
I am not paid by any company to use their products (all products used in my posts have been purchased – by me) and should this ever happen, I will disclose that in a specific post. – Ouma
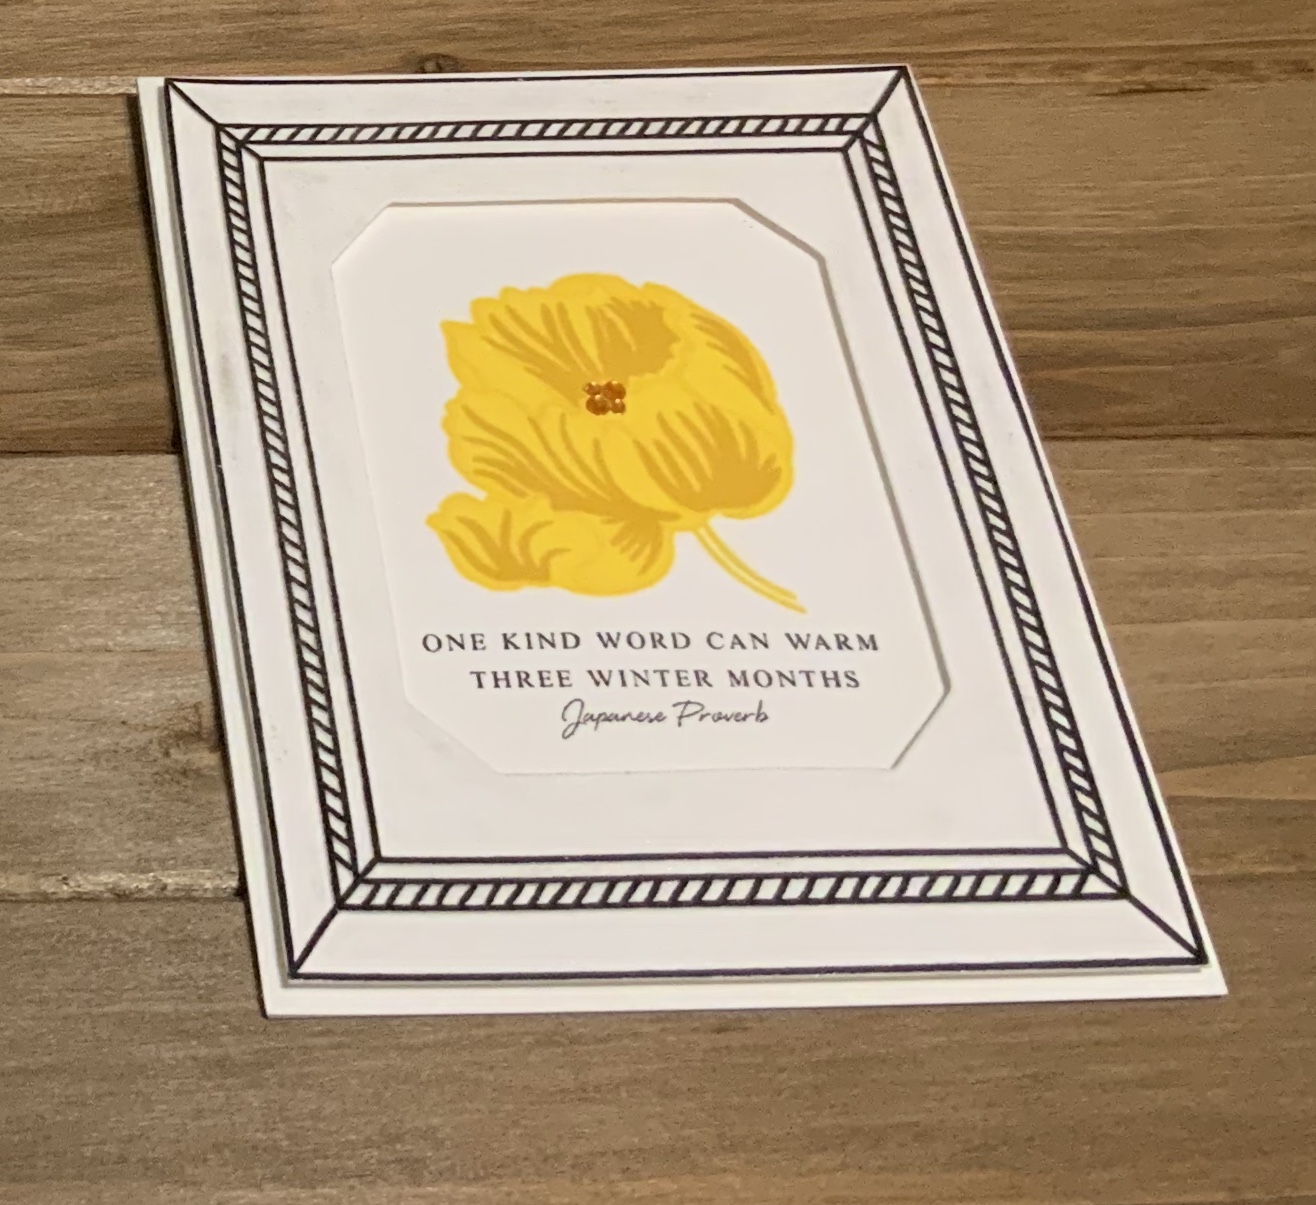
Today’s card features elements from the following Altenew product sets: Framed Stamp & Die Bundle, Build A Flower – Poppy and the Beautiful Quotes Stamp Set.


After deciding on a theme and layout, I cutdown a piece of Neenah Classic Crest Solar White Cardstock to 4 1/4 in x 5 1/2 in. I placed the largest frame from the Framed Stamp & Die Bundle onto my stamp platform covered the sheet with an anti-static tool and inked it up using Altenew Crisp Black Ink. Next, I stamped the frame image again using embossing ink. After stamping with embossing ink I covered the sheet with clear embossing powder and then set the powder using a heat tool.

After embossing the frame, I used the coordinating dies to cut out the center of the frame. The frame was then placed on a piece of Cardstock and the floral image placed in the center.

Next, I used a pencil to lightly trace around the inside of the frame. The Cardstock was placed on a stamp platform and the first layer was stamped.


After stamping each layer of the Poppy (Pocketful of Sunshine Inks), I lined up the quote that I chose and stamped it using Altenew Crisp Black Ink.


The card panel was then trimmed and foam tape added. The adhesive was removed from the foam tape and the embossed frame panel was added.

To finish off the panel, I added four small orange embellishments to simulate the center of the flower (and add shine of course). The completed panel was placed on top of a top folding note card.
The final touch was adding a bit of shimmer to the outline of the card using a clear brush marker.

I love the way this card turned out; Simple Yet Powerful. Perfect for a man or a woman.
Well, that’s all I’ve got for you today. Once again thank you so much for stopping by. Time is precious and I am so very honored that you took a few minutes out of your. day to spend with me. I hope that you have seen something her that encourages and inspires.
Until next time…Don’t forget to spread kindness! – Ouma

You have created such a clean, simple and beautiful card! Thank you for the process photos. Those really show us how everything!! Love the shimmer too!
Thanks so much for entering your beautiful work in the AECP assignment Gallery. I love your write-up and descriptions! Please keep up with your excellent work!
Thank You 😊
This is simply delightful! Love the use of die and stamps! The color contrast is awesome, Takisha! GREAT job on using that clear-embossing powder! Thanks so much for entering your beautiful work in Altenew AECP assignment Gallery. Beautiful colors and design. Well done!
Thank You 😊