Hi there! Ouma here. Thank you so much for stopping by. Today we are talking about stencils and card making. I love the idea of using stencils. They are so versatile. They can literally be used for just about ANYTHING!!
This blog contains paid advertising banners and affiliate links (Shopping/Affiliate Disclosure). Banners and affiliate links may be used at no additional cost to you. This means that I may get paid a small commission when you shop with a company using a link I provide.
I am not paid by any company to use their products (all products used in my posts have been purchased – by me) and should this ever happen, I will disclose that in a specific post.
I recently signed up for and took a course on stenciling via Altenew Academy titled Stenciled: Multiple Ways. The Instructor Laurel Beard was awesome and offered up some wonderful ideas/perspective on stenciling. I encourage you to check the course out. Side note – one of the great things about courses offered via Altenew Academy is that they are self paced AND you can go back and review the videos even after the initial course offering. I have found this very helpful.
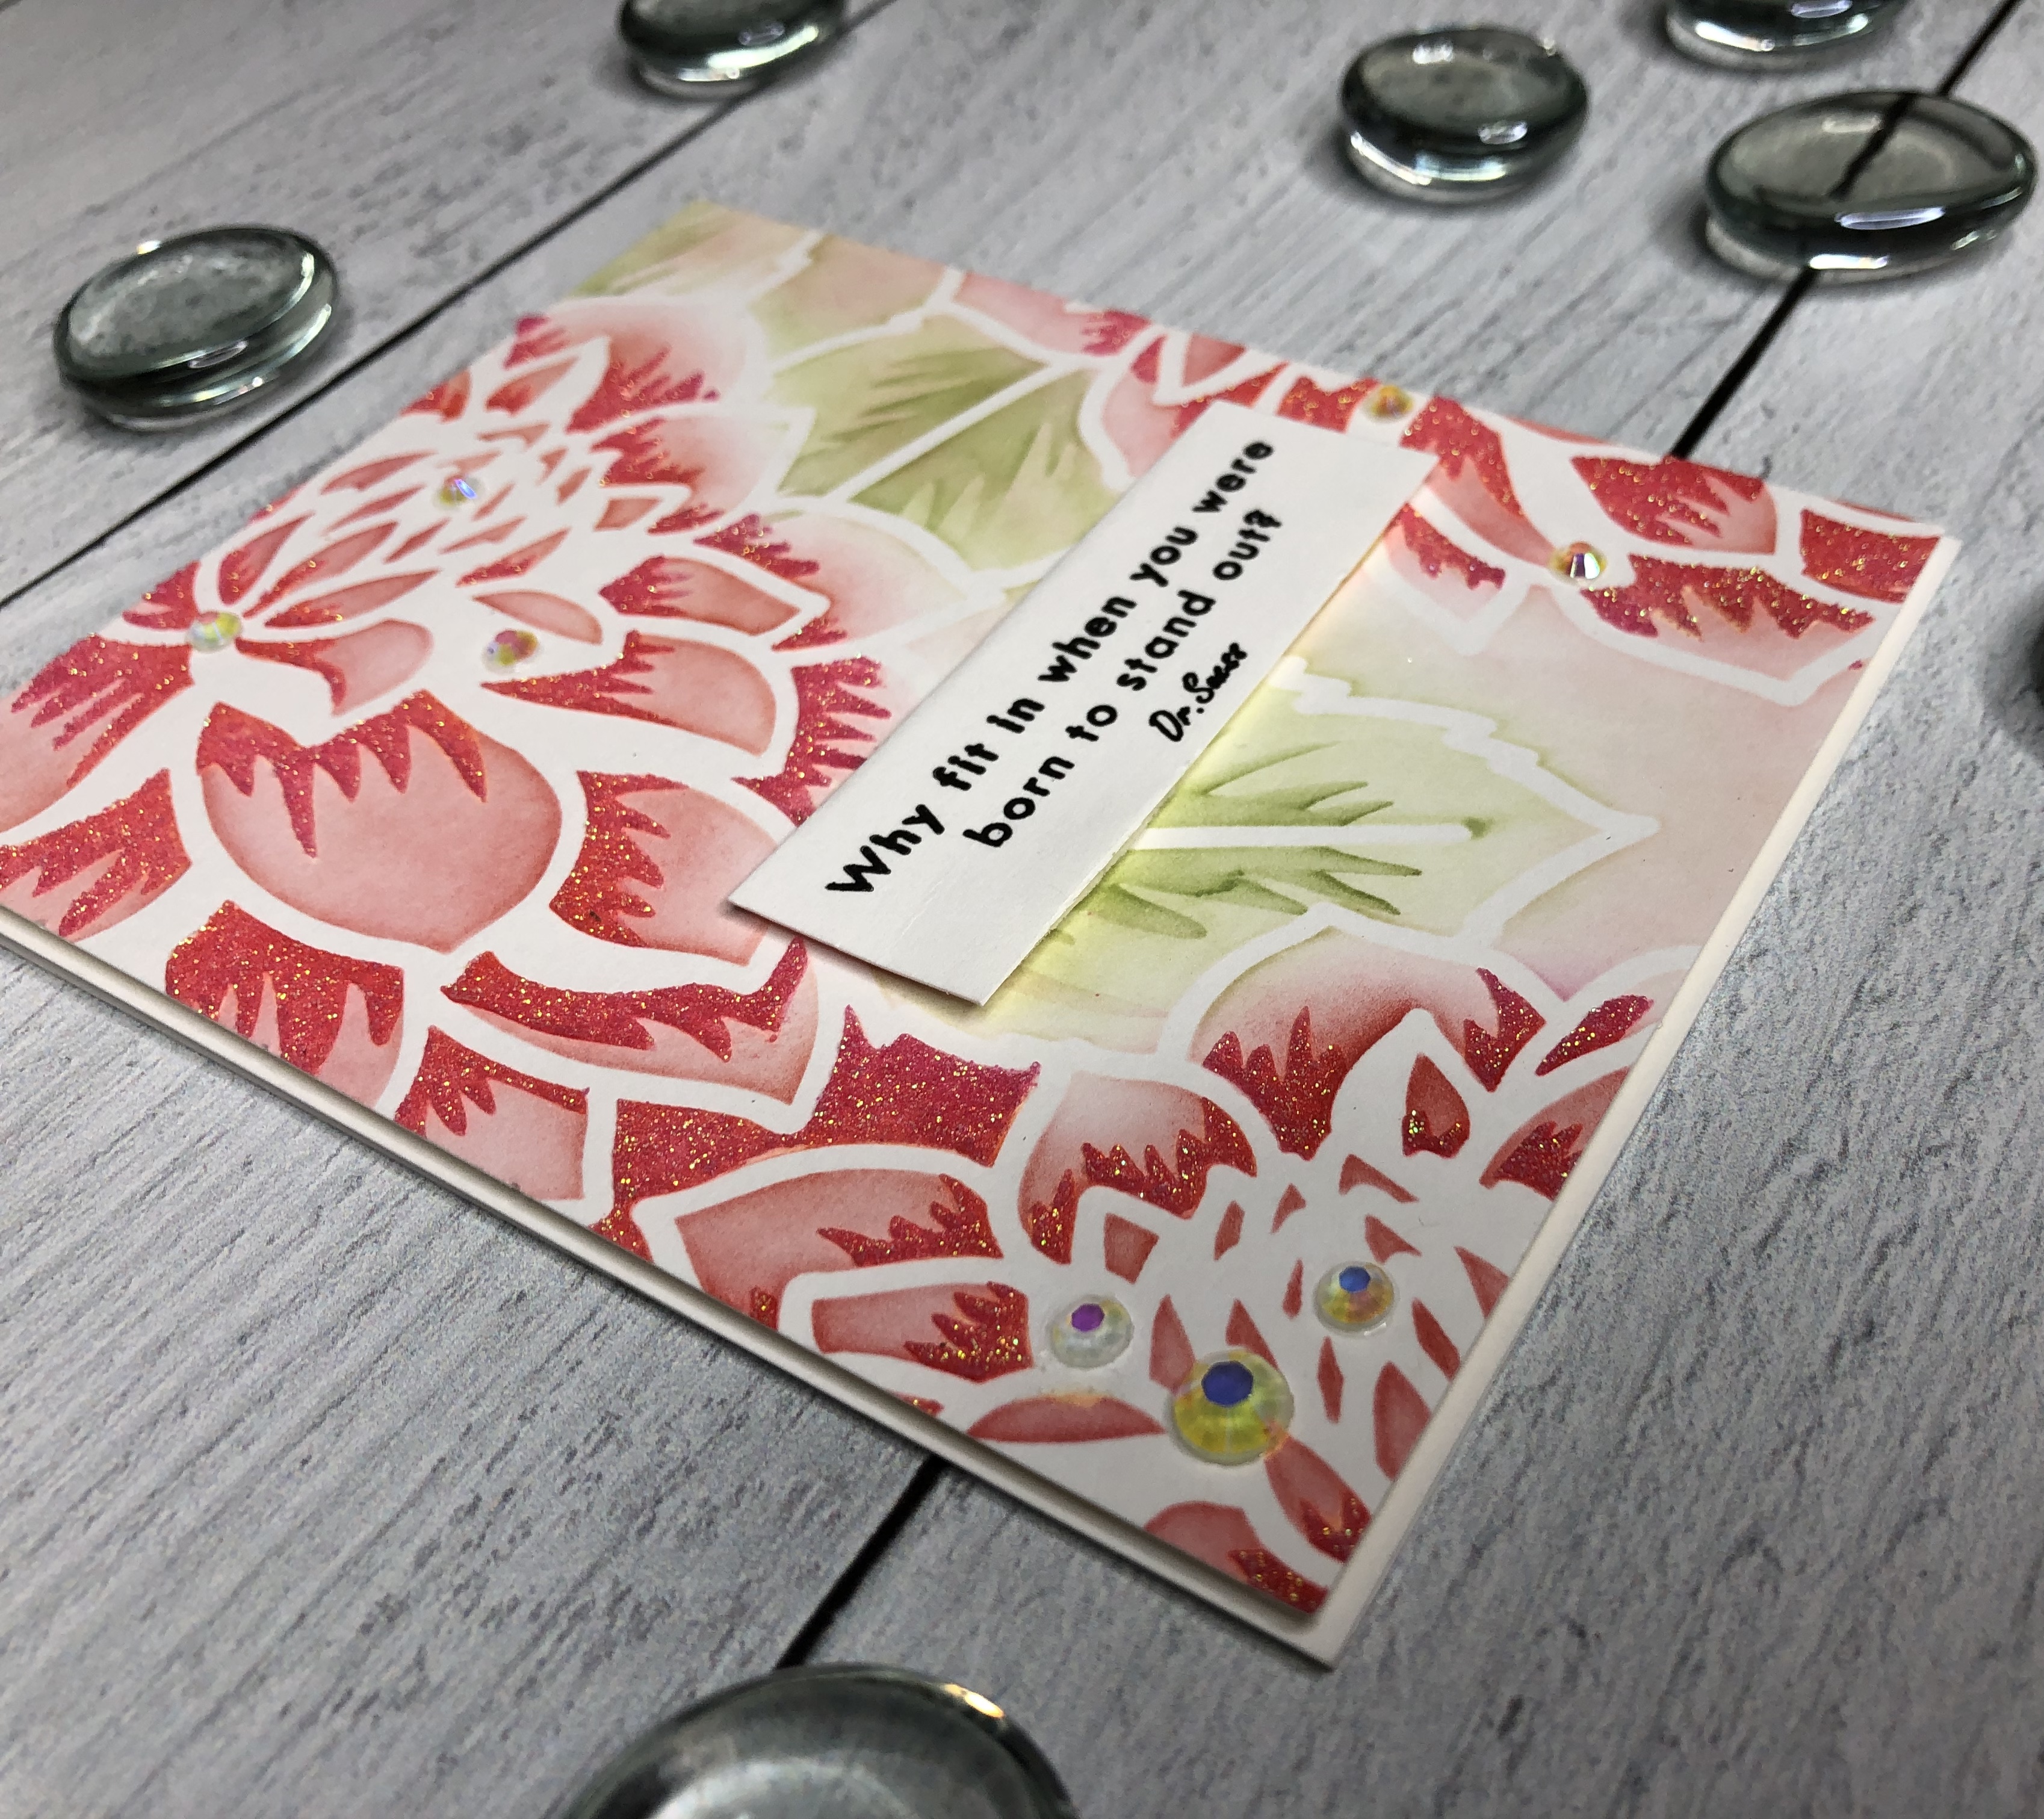
This project is my take on a few of the techniques I saw in the Stenciled: Multiple Ways course. I used the beautiful Layered Dahlia A&B Stencil Bundle to create the two cards shown below. The great thing about this set is that the stencils can actually be used separately to create different looks. I however chose to layer the stencils for both cards below.

I started out my first card a little differently than usual. The Layered Dahlia Stencils measure 6 in x 6 in. With this in mind I started out with a card panel cut to about 6 1/4 in x 8 in. I started out with a larger piece of card stock in order to give myself plenty of room to both secure the panel while working with it and be able to cut the panel down later on.


To add additional depth, color and of course sparkle to the card I kept Stencil B in place but added glimmer paste over the flower petals.
While waiting for the paste to dry, I cleaned my stencil, pallet knife and work mat. Don’t skip this step!! The paste dries hard and you don’t want to ruin your tools.
I chose the “Why fit in” sentiment from the Wonderland Stamp Set from Altenew. Using a stamp block and Obsidian Black Pigment Ink I stamped the sentiment onto a scrap piece of card stock left over from the stenciled image. Next I trimmed the sentiment down and added foam tape to the back.

Next, I trimmed the card panel down to just slightly smaller than 4 1/4 in x 5 1/2 in. Double sided foam tape was applied to the back and the panel was placed on top of a standard top folding note card. To finish off the card, I placed the sentiment strip on the front adhered clear gemstones using a strong liquid adhesive.


I created the second card following virtually the same steps as the first with a couple of minor exceptions.
The second card was created using Neenah Desert Storm cardstock.


After adding color using the inks listed above, I added subtle shading and outlines using colored pencils. That was followed by using a clear glitter brush to add sparkle to the flower petals.
I chose the “Just a Note” sentiment from the Wonderland Stamp set. Again using a stamp block Obsidian Black Pigment Ink was used to stamp the sentiment onto a scrap piece of card stock. Foam tape was then added to the back.


The card panel was trimmed to slightly smaller than 4 1/4 in x 5 1/2 in, foam tape was placed on the back and twine was wrapped around the bottom.
The card panel was placed on top of a top folding note card, the sentiment was secured and clear gemstones were added to the front.
The camera shots just don’t do justice to the amount of sparkle that is on this card. IT TRULY SHINES!

I’m so happy with how these cards turned out. The Layered Dahlia stencil set is an awesome tool.
Thank you so much for taking the time to stop by. I hope that you have seen something here to day that inspires you to create your own beautiful work of heart. Thanks again for stopping by and as always, don’t forget to spread kindness. – Ouma
Supplies
Need to find the products used to create this card? They are listed below. Click on the icon below each picture to learn more. (This is NOT a sponsored post. All products were paid for by me. The post does however contain compensated affiliate links which can be used at no cost to you). Thank you so much for support!


Oh my!!! Both your cards look SO GOOD!! I am loving it!! Just finished watching the video and I just wanted to thank you for it. Great job!
Thank you for entering your beautiful work to the AECP gallery.
Thank You Erum 🙂
Fabulous stenciled card, Takisha! Love the glitter details and shine! AWESOME work on your video! Thanks so much for entering your beautiful work in Altenew AECP assignment Gallery. Beautiful colors and design. Well done!
Thank you Virginia! 😊