Hello Friends! It’s Ouma and today I am bringing you two cards that I created using Tonic Craft Kit 24. Tonic is celebrating 2 years of craft kits with this AWESOME set. If you’ve never seen or purchased one of Tonic’s kits you are truly missing out.
This blog contains paid advertising banners and affiliate links (Shopping/Affiliate Disclosure). Banners and affiliate links may be used at no additional cost to you. This means that I may get paid a small commission when you shop with a company using a link I provide.
I am not paid by any company to use their products (all products used in my posts have been purchased – by me) and should this ever happen, I will disclose that in a specific post.
Each month Tonic creates kits that include loads of stamps, dies, paper, card stock and other goodies such as sprays, embellishments and inks (and lots more). The stamps and dies included in the kits are exclusive to the kit so you won’t catch them for sale anywhere else. The beauty of Tonic’s kits is that you can subscribe OR you can make one off purchases.


This months kit features an exclusive Celebration Easel Die Set. The set includes 14 Dies!!! You also get a corresponding Celebration Easel Stamp Set, Balloom Shaker window refills, patterned paper, Nuvo Confetti, Nuvo Ink, Nuvo Glitter Marker, Nuvo Glitter Drops, Nuvo Vintage Drops and Card stock. One other cool thing is that Every quarter Tonic includes a ring binder (included in this kit) so that you can easily store your stamps and dies. Talk about bang for your buck!

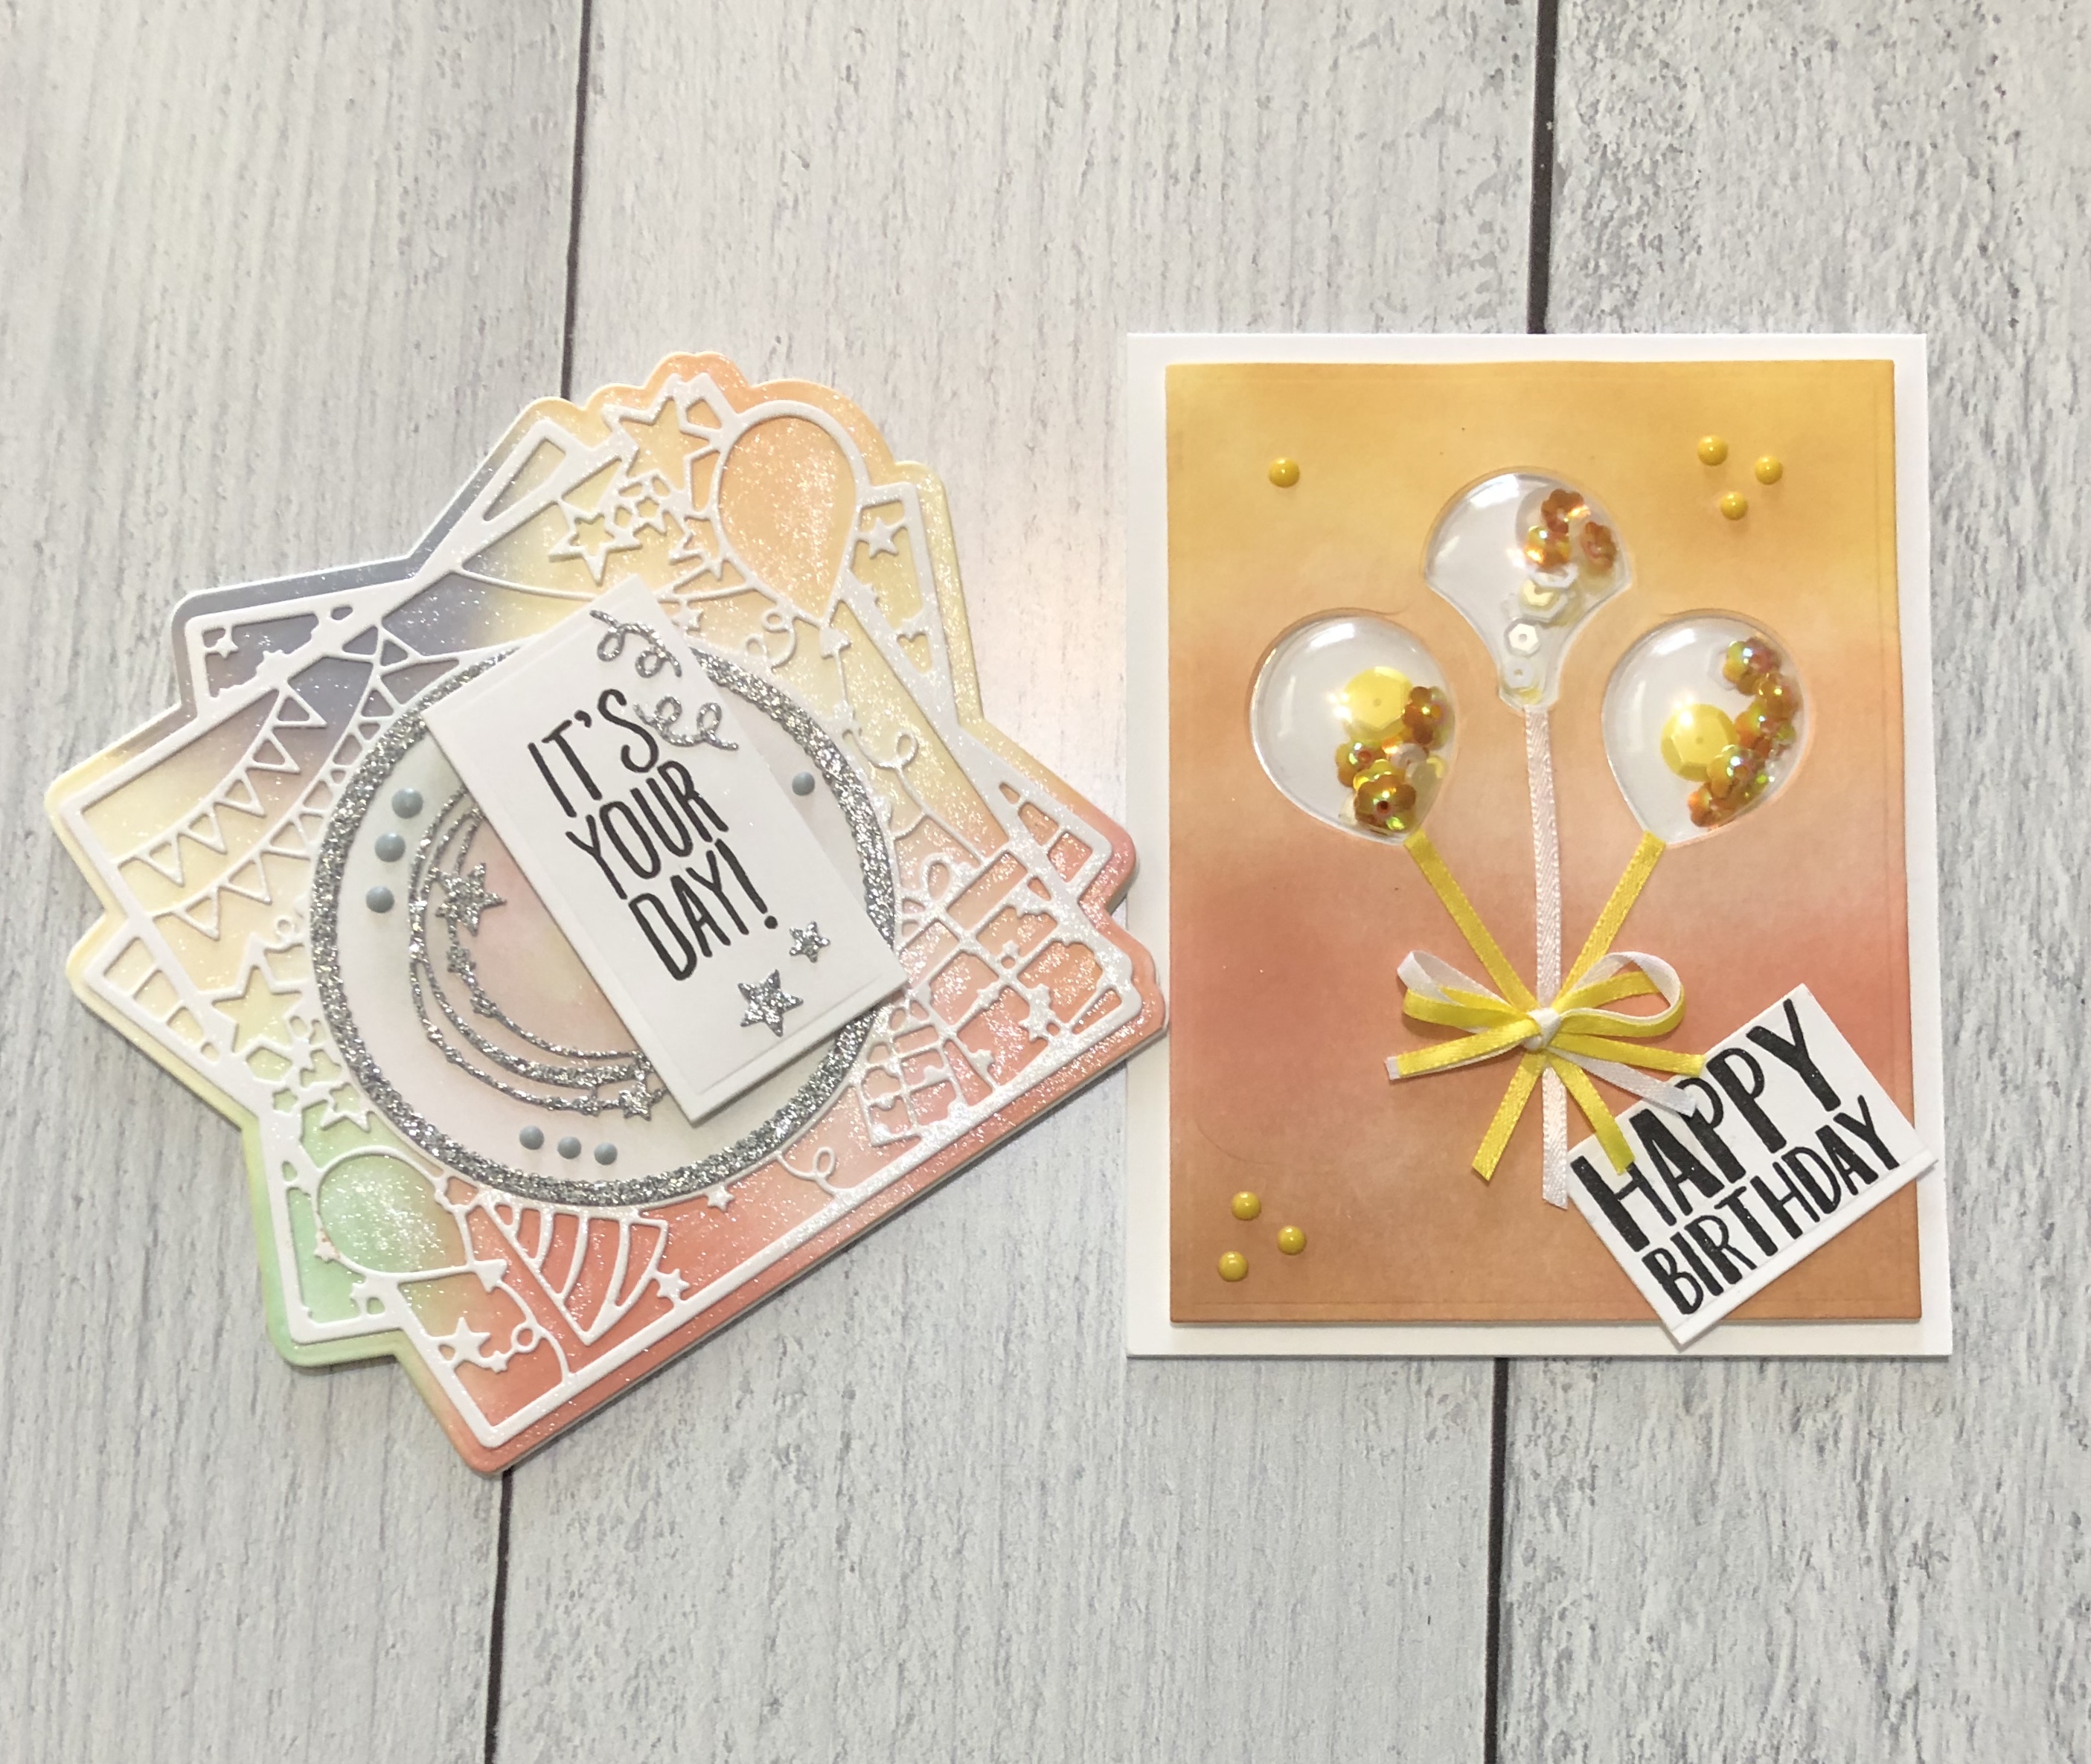
My first card focuses on the ballon shaker die included in the kit. I started by adding color to white card stock using a blending brush. After blending the ink I used the balloon die included in the set to cut out the opening that would become shaker windows. Next, I added then strips of ribbon under each opening securing to the back of the panel with washi tape and the front with liquid adhesive.

After securing the three strips of ribbon the shaker window and sequins were added to the opening (a small piece of card-stock was glued to the back to keep the sequins in place. Liquid adhesive was added to the panel and it was placed on top of an A2 size top folding notecard. The Happy Birthday sentiment was stamped using Altenew Obsidian Black ink and placed on top of the card panel. The last step was adding Nuvo Crystal Drops in Dandelion Yellow to the card.

My second card uses the beautiful Celebration Easel Dies from the card kit. Using the dies I cut two of the easel panels (the background) and one of the easel outline from white card stock. Color was added to what would become the front panel using Altenew Ink and Life Changing Blending Brushes. The front and back panels and outline were secured to each other using liquid adhesive.

Next, the circle dies included in the set were used to die cut silver glitter card stock. The die cuts were secured to the panel using liquid adhesive. The It’s Your Day sentiment from the set was stamped onto white card stock and then die cut. Foam tape was added and the sentiment was then placed on top of the card panel. The final step was to add Nuvo Vintage Drops to the card. Side Note: I did add A LOT OF SPARKLE to the card. I went a tad bit overboard in one spot ( I think I was mesmerized by the Sparkle LOL).
I had so much fun creating these cards (my first shaker). Perfect for birthday’s and other celebrations.
As always thank you so much for stopping by. I hope that ups have seen something here that inspired you to create your own work of art.
Until next time. Don’t forget to spread kindness! – Ouma
Supplies
Need to find the products used to create this card? Most are listed below. Click on the icon below each picture to learn more. (This is NOT a sponsored post). All products were paid for by me. The post does however contain compensated affiliate links which can be used at no cost to you. Thank you so much for support!

