Hello! It’s Sunday August 25th and today I am bringing you a coffee themed birthday card. Special request from my daughter for one of her co-workers that’s a COFFEE LOVER.
This blog contains paid advertising banners and affiliate links (Shopping/Affiliate Disclosure). Banners and affiliate links may be used at no additional cost to you. This means that I may get paid a small commission when you shop with a company using a link I provide.
I am not paid by any company to use their products (all products used in my posts have been purchased – by me) and should this ever happen, I will disclose that in a specific post.
Surprisingly, even though I am also a bonafide COFFEE LOVER I only have one set of stamps and dies that are coffee related. Last year Hero Arts August My Monthly Hero Card Kit was all about COFFEE! It was actually one of the first card kits I purchased (I’ve only been at this for a year!). I looked through my supplies and found the set and the rest is well, HISTORY (LOL).

The first step in creating this card was to stamp each coffee cup onto a piece of masking paper. After stamping each image was cut using the corresponding dies (included in the card kit). After cutting the masks I stamped each cup starting with the cup and saucer in the center of the card. Before stamping the next cup I covered the previous image with its mask.


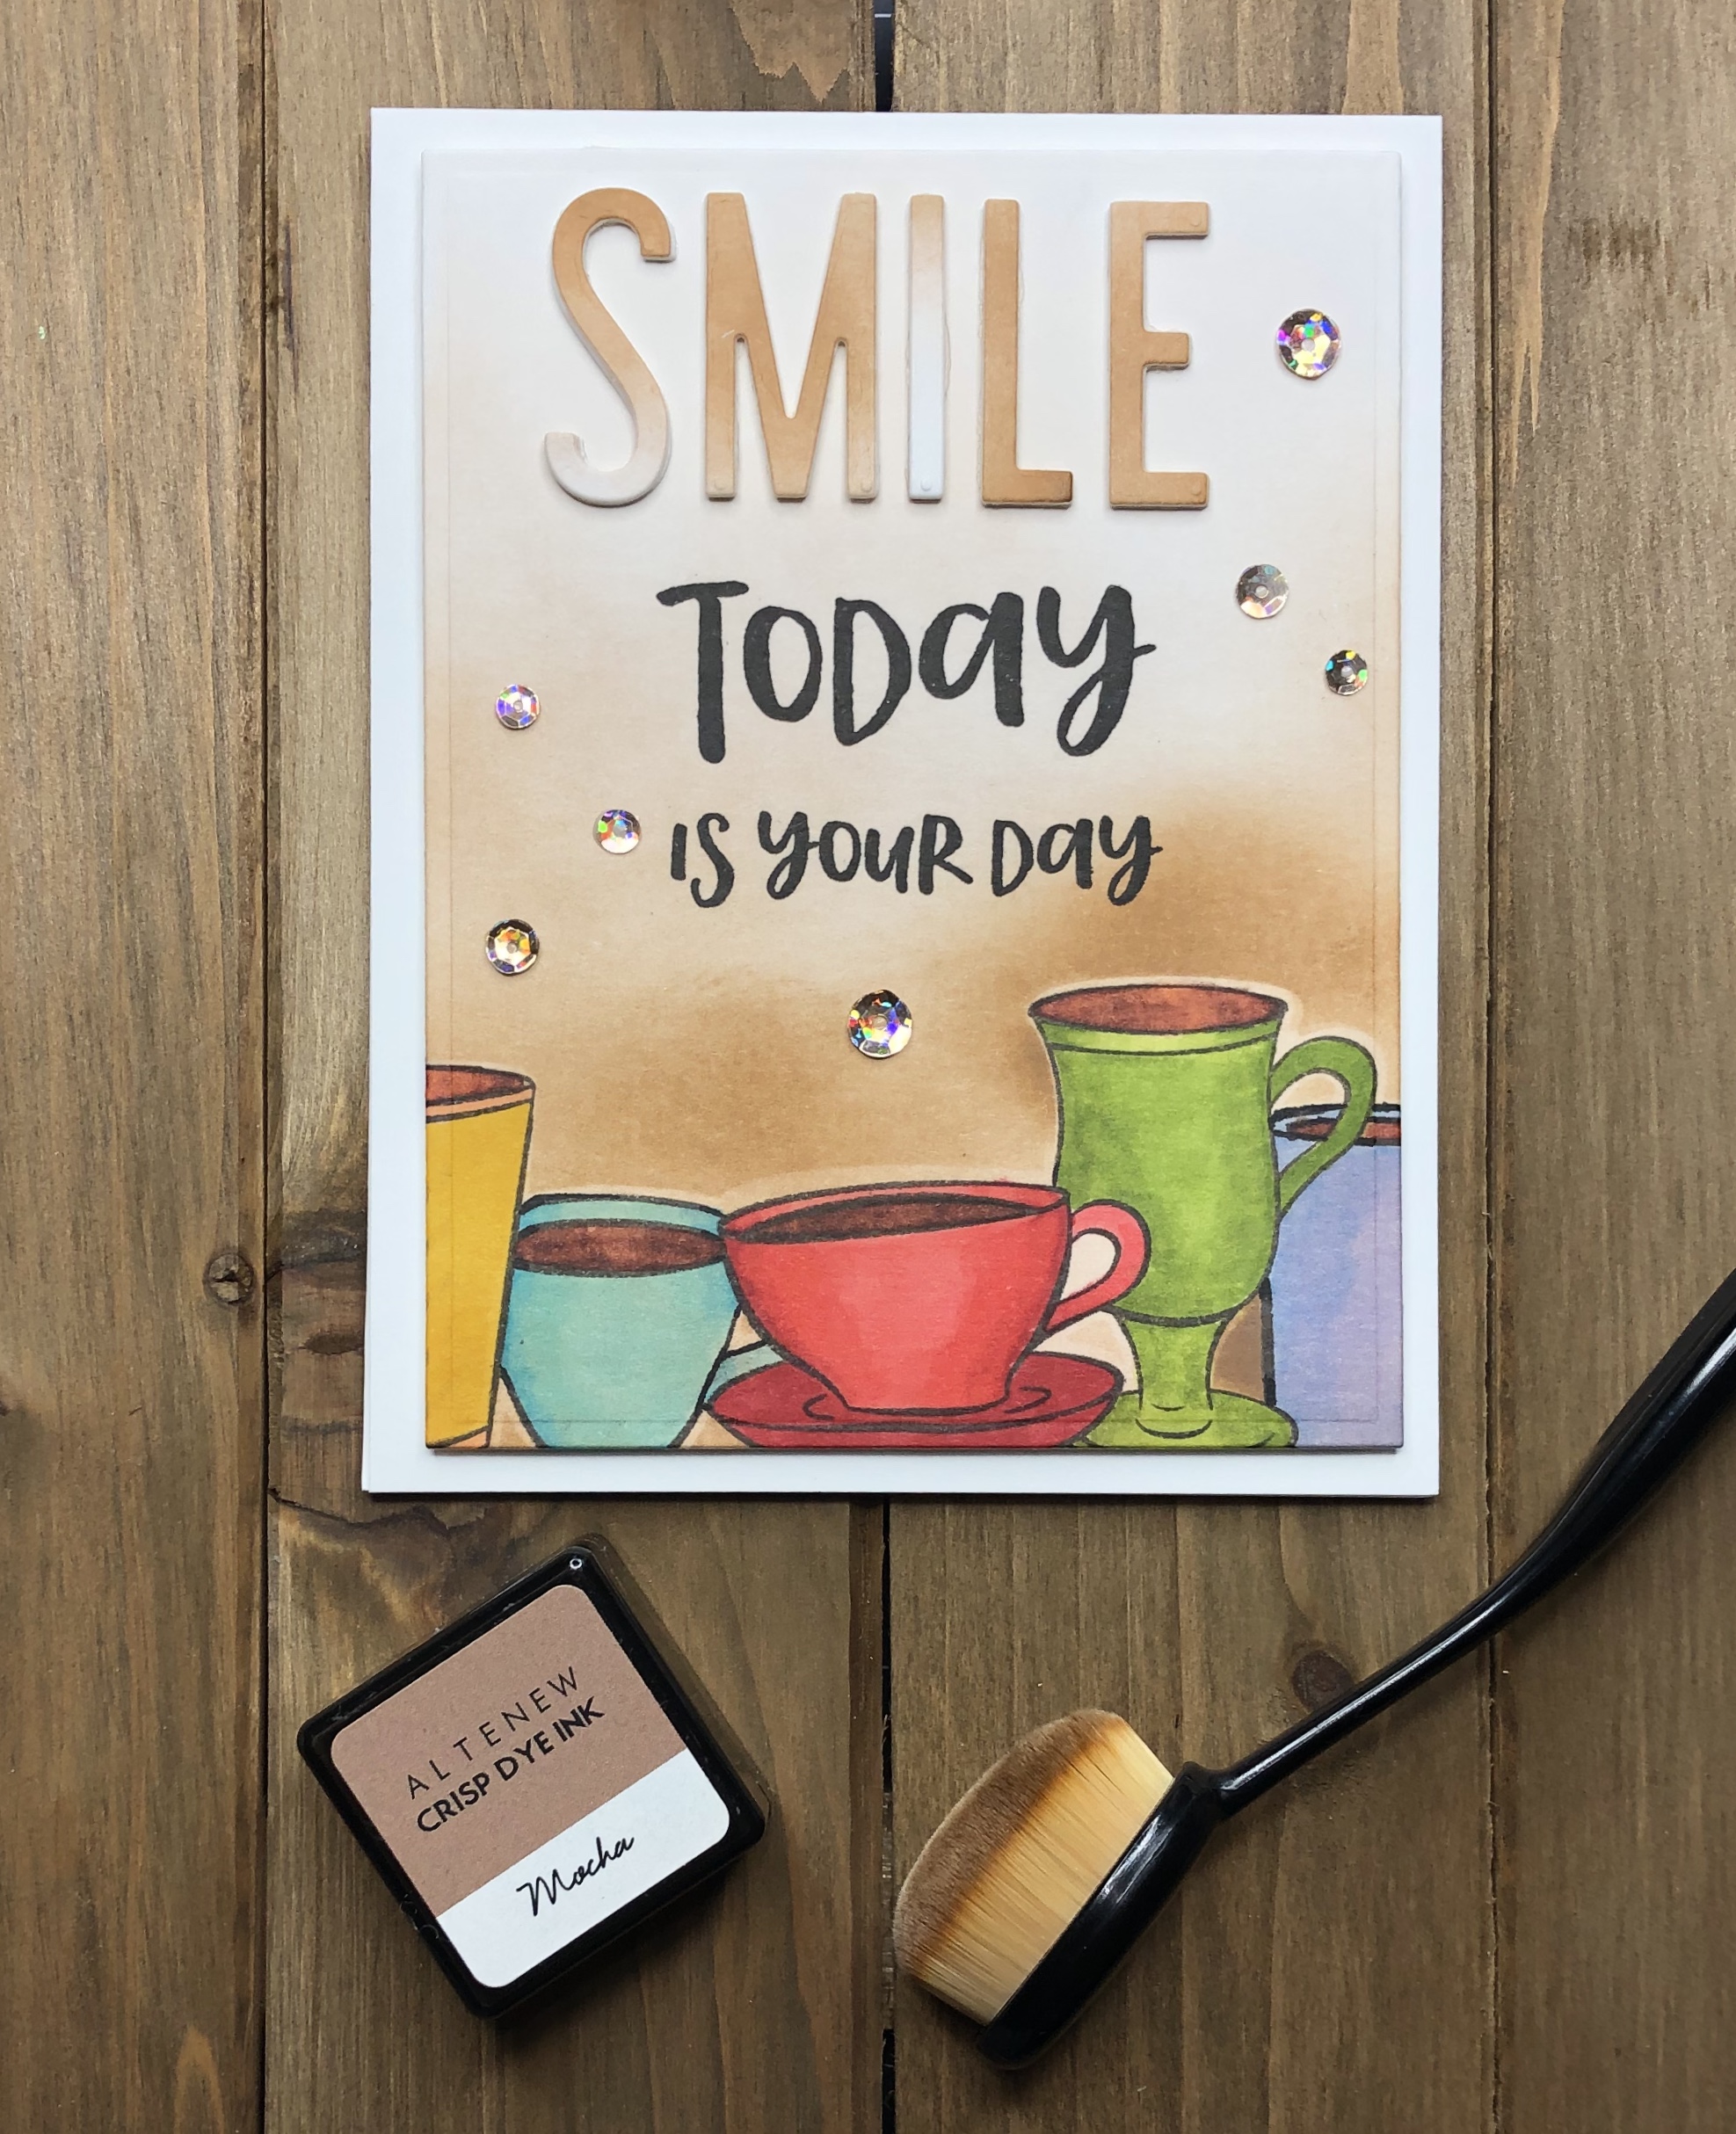
After each image was stamped I added color using Altenew Artist Markers. I replaced the masks and then added color to the background using Altenew Mocha Ink and a Life Changing Blender Brush.


Next, I used the Mocha Ink and Life Changing Brushes to add color to a scrap piece of heavy white cardstock. After adding color the word SMILE was die cut three times. The letters were glued together using strong liquid adhesive.

Prior to adding the sentiments I used a card creator die to trim the panel.
The sentiment was stamped using Altenew Obsidian Black Ink. I used a T-Ruler to line up the die cut sentiment above (secured with strong liquid adhesive). Double sided foam tape was added to the back and the decorated panel was added to the front of a top folding A2 (4.25 in x 5.5 in) note card. The final step was adding sequins to the front.


That does it for today’s card. Super cute and colorful. Perfect for any coffee lover.
Thank you so much for stopping by. I hope that you’ve see something here that inspires you to create your own works of art. Until next time. Don’t forget to spread kindness! – Ouma
Supplies
Need to find the products used to create this card? Most are listed below. Click on the icon below each picture to learn more. (This is NOT a sponsored post). All products were paid for by me. The post does however contain compensated affiliate links which can be used at no cost to you. Thank you so much for support!

