Happy Sunday! Ouma here. It’s a beautiful day here in Texas. So beautiful in fact that I actually have the windows open! If you know Texas (Southeast Texas) you know that those days are few and far between. It’s normal far to humid but TODAY IS GORGEOUS! I LOVE FALL. It is my favorite season.
This blog contains paid advertising banners and affiliate links (Shopping/Affiliate Disclosure). Banners and affiliate links may be used at no additional cost to you. This means that I may get paid a small commission when you shop with a company using a link I provide.
I am not paid by any company to use their products (all products used in my posts have been purchased – by me) and should this ever happen, I will disclose that in a specific post.
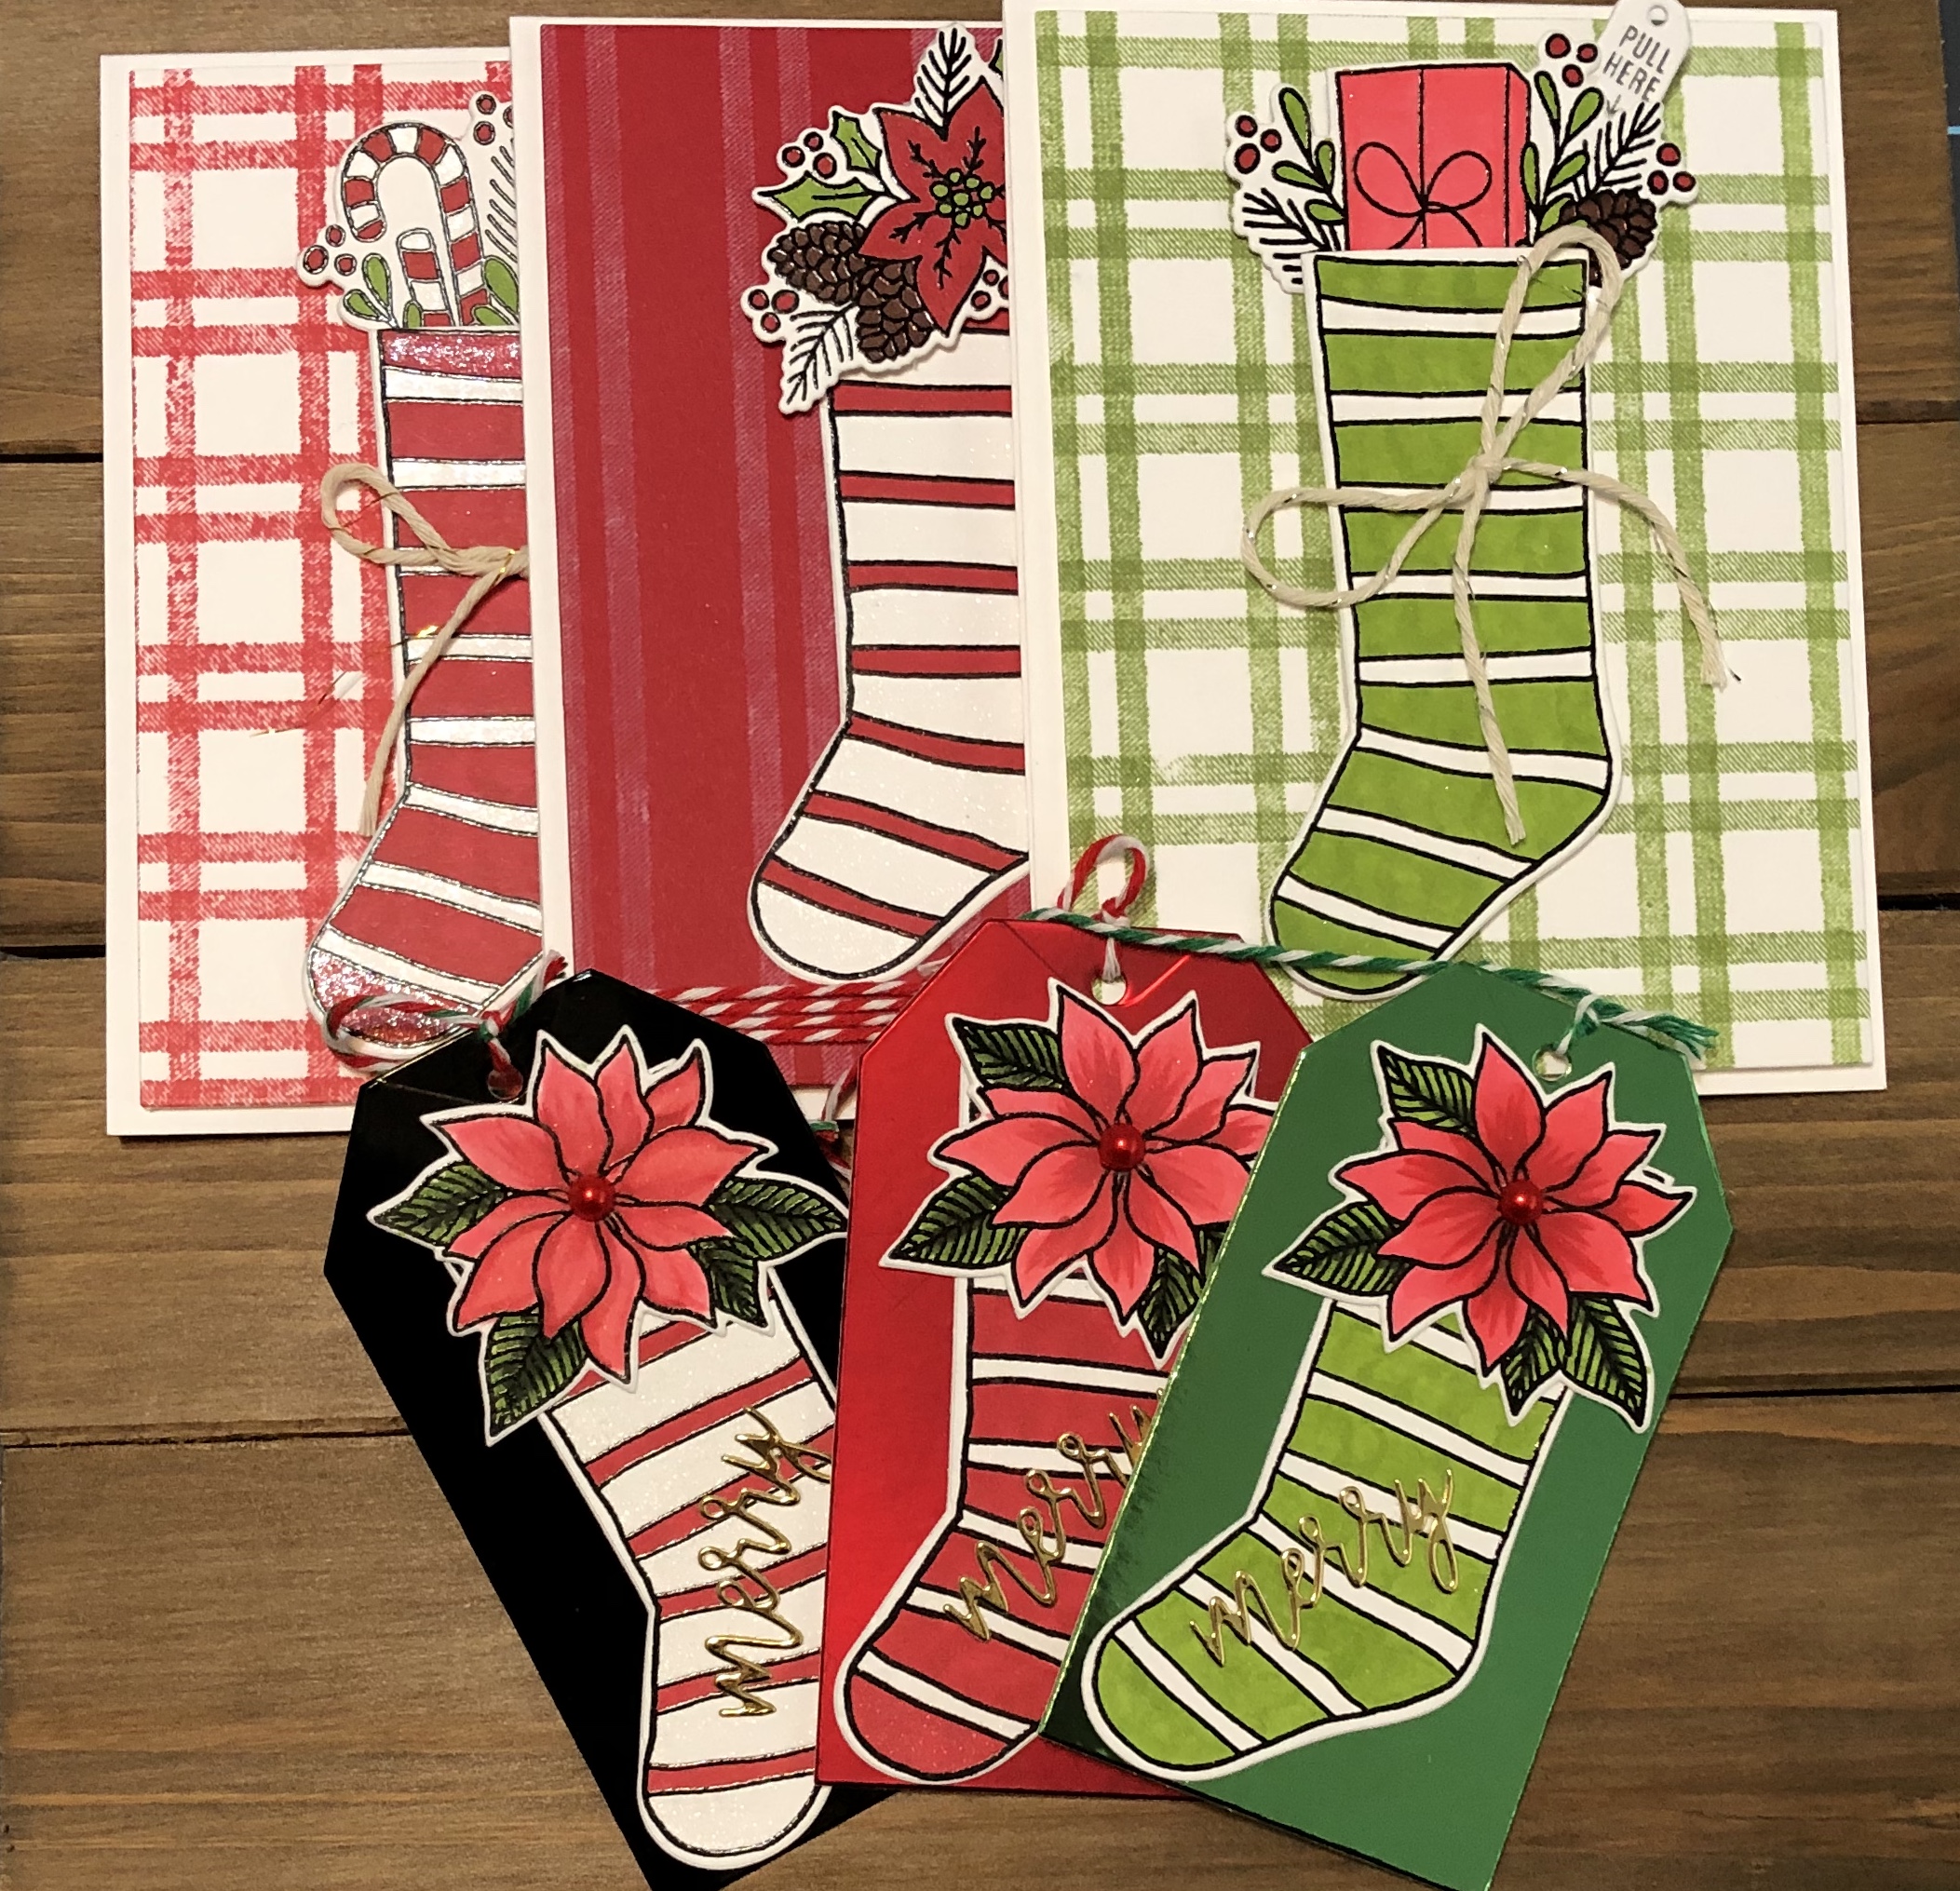
Though I’d love to continue gushing about this beautiful fall day, today’s post is all about Christmas. Christmas Stockings to be more specific. Fall is my favorite season, but CHRISTMAS….is my FAVORITE holiday. Christmas cards, Family, Food and decorations; I love it all. It is that love of Christmas that provided partial inspiration for this post. Well that and the Stocking Stuffers Bundle from Concord & 9th.

This set has so much to offer! I will definitely use it to create more holiday crafts. Here’s how these cards and gift tags came together (full product list at the bottom of the page).


I started the first card by creating a background using the Woven Stripes Background Stamp from Concord & 9th. The background stamp was inked with Altenew Ink and applied to a piece of heavy cardstock in a crisscross pattern. Next, I stamped one of the stocking images onto a piece of heavy card stock using Altenew Ink. Embossing Powder was added and the image was set with a heat tool.
After heat embossing, color was added using Altenew Artist Markers. The stocking was then die cut using the corresponding stocking die from the bundle.

I chose the small package image from the set for my stocking topper. After adding color and heat embossing, the image was die cut using the corresponding die.
One of the cool (or maybe coolest part) parts of this bundle is the sliding mechanism that is included. After die cutting from heavy cardstock with the corresponding die I stamped the “you’re on my nice list” sentiment from the set onto the front. I then die cut the tiny tag from the set and stamped “pull here” onto it.

Next, I cut a slit (using die from set) into the background panel and placed the slider portion through it. Foam tape was then added to the panel being careful to not put the tape too close to the sliding sentiment. The background panel was then added to the front of a top folding A2 (4 1/4 inche by 5 1/2 inches) size note card. Foam tape was added to the back of the stocking and it was centered on the panel.
To finish the card I added small pieces of double sided tape to the top of the present and added a bow twine bow to the front of the stocking.

The second card was assembled the same way. The only difference was the colors used.


The final card features the same stocking image. Instead of using the slider mechanism, I kept this one simple. The background was created using the same Woven Stripes Background stamp. Instead of the slider, I used the poinsettia image from the set for the topper. The stocking was glued flat to the panel. The floral image was popped up using foam tape.

To break up the color I die cut the word “joy” using mirror card stock. Red and White twine was wrapped around the background panel. Foam tape was added to the back and it was placed on top of a top folding A2 size note card.

I stamped the “sending you some holiday cheer” sentiment inside each card. This sentiment by the way fits nicely on the slider mechanism so it can also be used for a hidden message.

I had a few leftover stockings, so I decided to use them to make tags! I used a tag die to cut three tags from mirror card stock. The three stockings were adhered to the tags using strong adhesive. I used three poinsettias that were left over from my last project as toppers. The word “merry” was also from that project (always save your scraps!). They sure did come in handy. The final touch was adding red flat back pearls and twine to the top of each tag.


There you have it. Easy ways to create cards and tags using one AWESOME stamp and die bundle.
Thank you so much for stopping by. I hope that you have seen something here that inspires you to create your own little work of art. Until next time, don’t forget to spread kindness! – Ouma
Supplies
Need to find the products used to create this card? Most are listed below. Click on the icon below each picture to learn more. (This is NOT a sponsored post). All products were paid for by me. The post does however contain compensated affiliate links which can be used at no cost to you. Thank you so much for support!

