Hello! Hello! Hello! Ouma here. It is a beautiful sunny day here in Texas. It actually feels like Fall! Which makes me immensely happy. If you know Southeast Texas, it seems like we only have two seasons; Summer and Partial Spring!! LOL.
This blog contains paid advertising banners and affiliate links (Shopping/Affiliate Disclosure). Banners and affiliate links may be used at no additional cost to you. This means that I may get paid a small commission when you shop with a company using a link I provide.
I am not paid by any company to use their products (all products used in my posts have been purchased – by me) and should this ever happen, I will disclose that in a specific post.
Today I have lots of cards to show you and every single one has a purpose. If you follow my blog you know that I am relatively new to card making. I have been creating handmade cards for just a little over a year. Well last year I came across a wonderful campaign called the Caring Hearts Card Drive . The purpose of the drive is to collect handmade holiday cards for elderly people living in nursing homes or alone. I can’t remember how many cards I created last year but I really enjoyed the process.
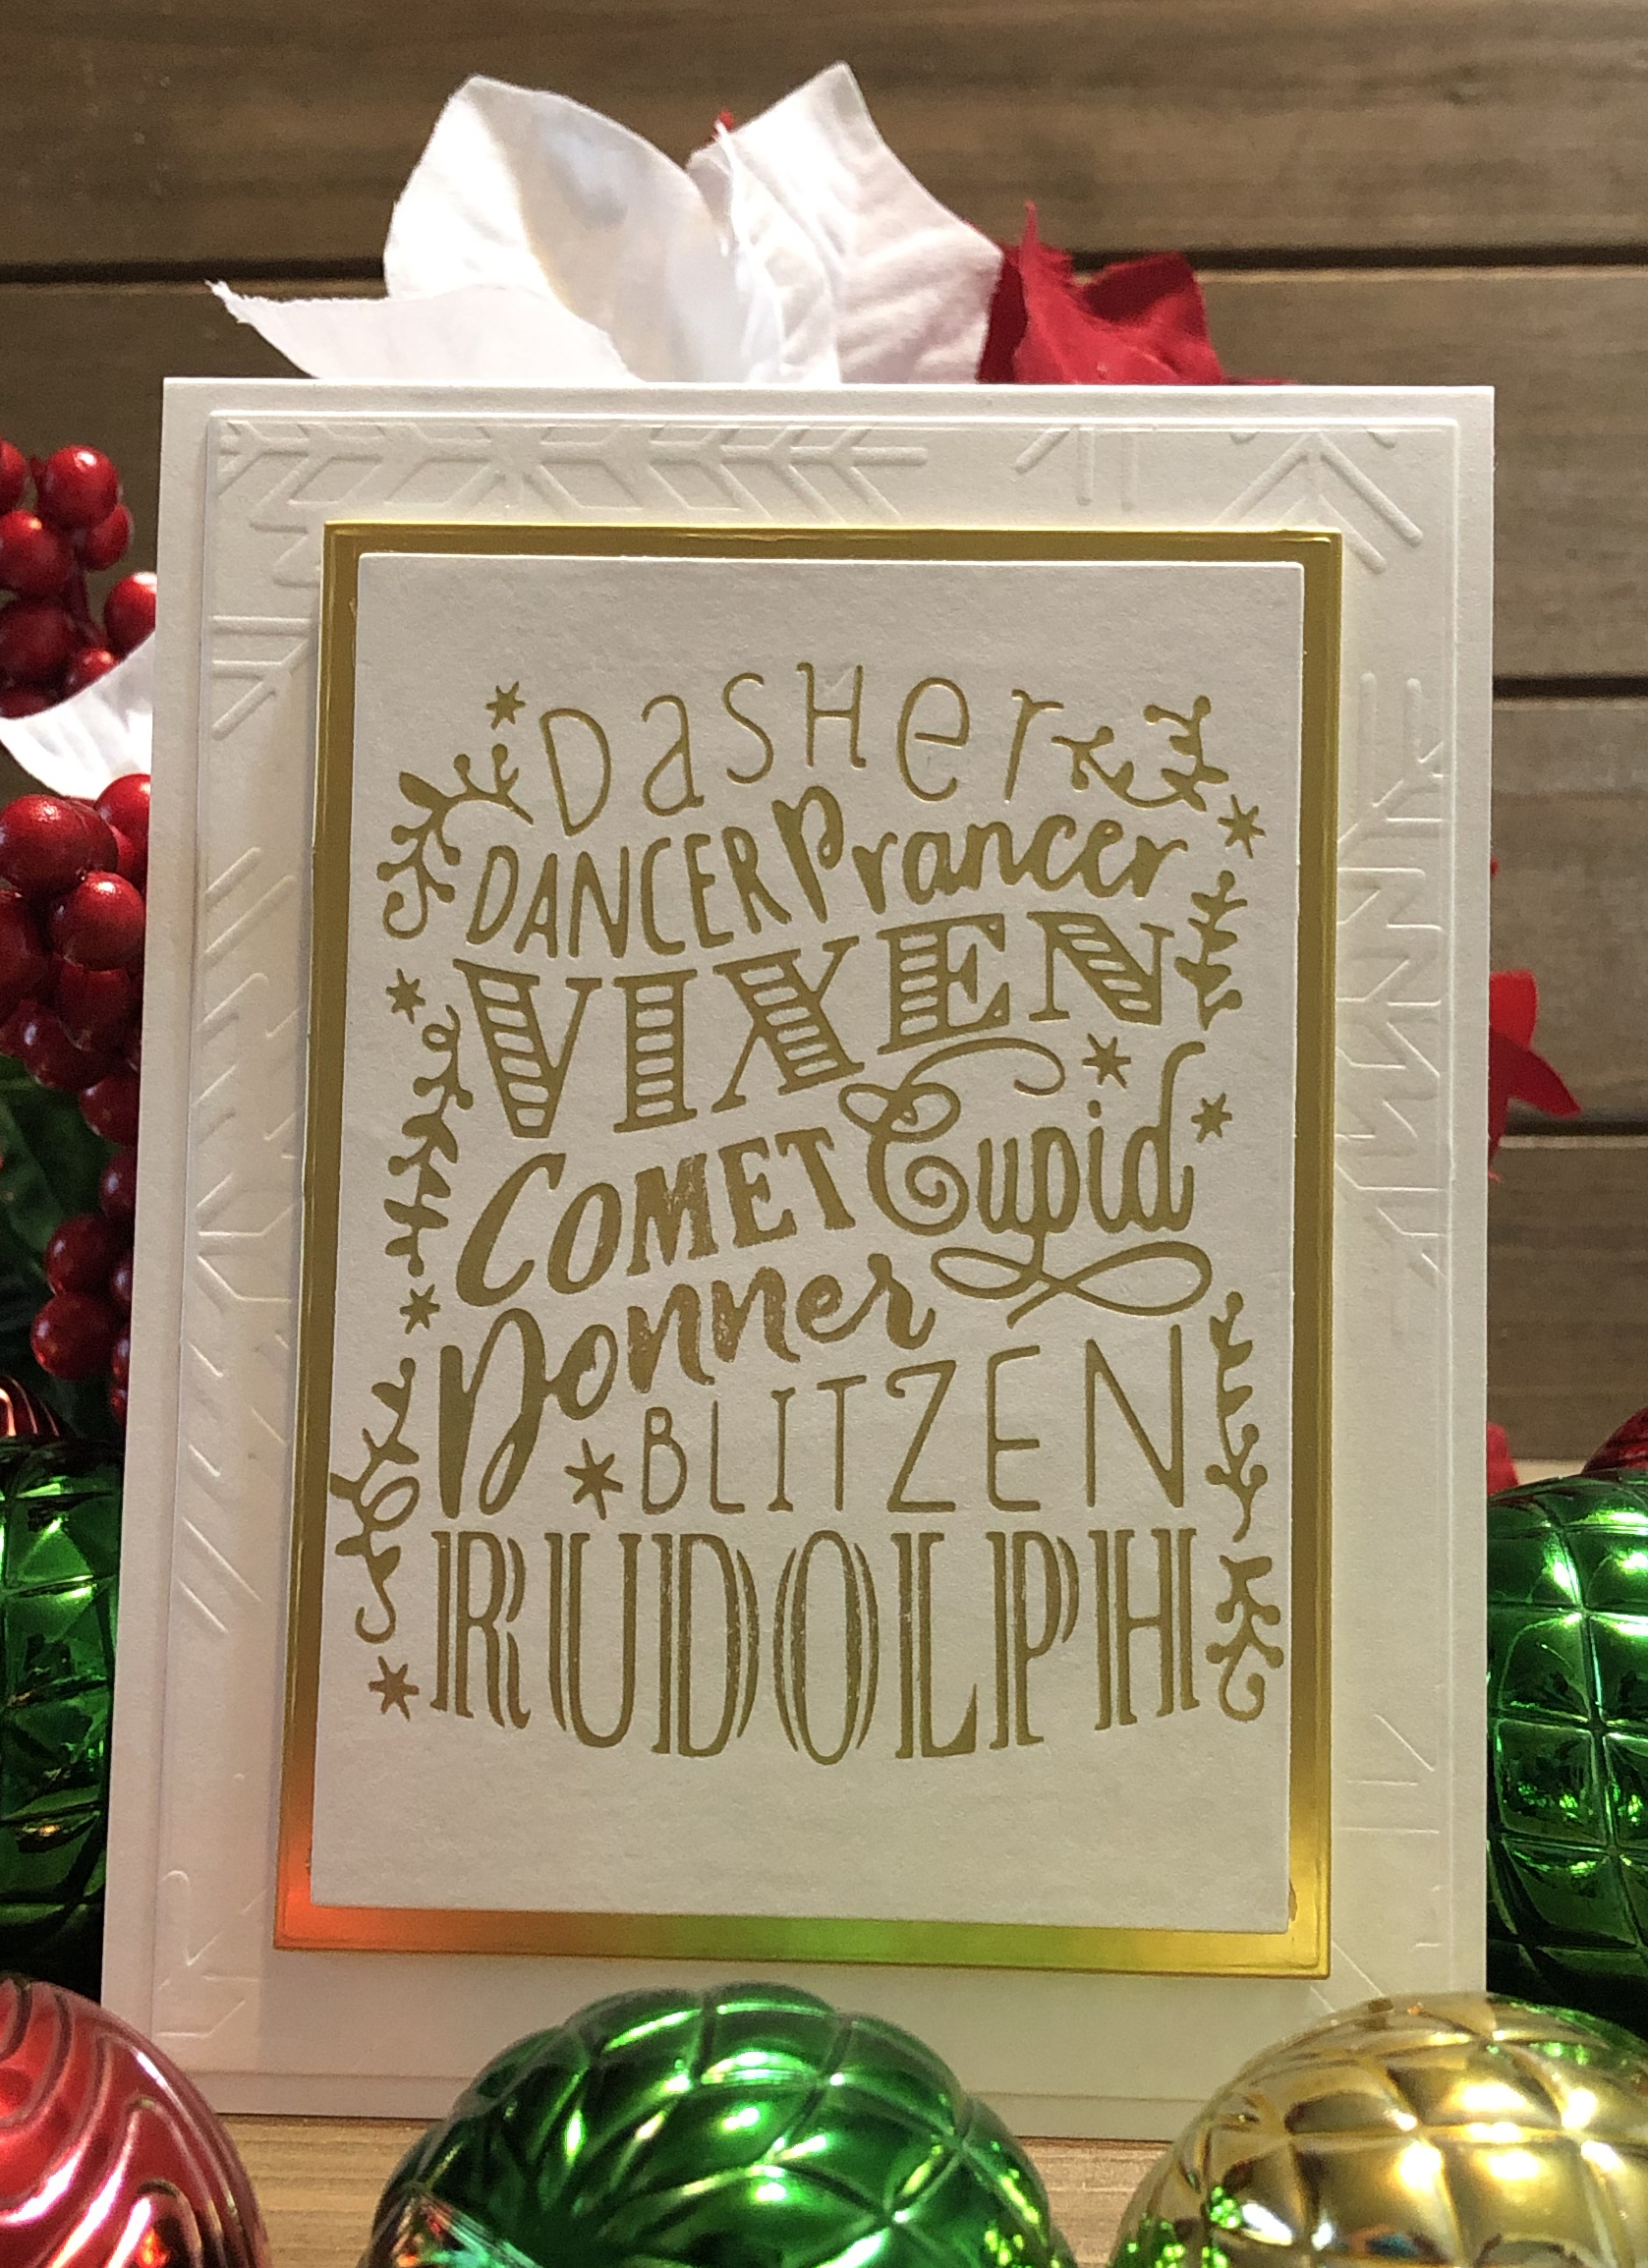
Well it’s that time of year again! This post is all about the cards that I created for the Caring Hearts Card Drive. The products (Sparkling Holidays Paper Pad, Sparkling Holidays Die Cut Shapes, Glimmer Hot Foil, Faux Happy Holiday Glimmer Hot Foil Plate and Reindeer Games Hot Foil Plate) used to create these cards are perfect for mass producing cards for the holidays, especially when you have a short timeframe with which to work.
Here are a few tips for mass producing cards.
- Decide on a theme or design: Even if you are not quite sure of the particular layout yet having a theme or design in mind goes a long way.
- Grab all of your supplies and have them at the ready: Have all of your supplies (including extras like adhesive, foil) within arms reach. This saves time and frustration. If you run out of something you won’t have to go digging for more if everything is already on your work table!
- Cut card bases and mats ahead of time: For the cards below I cut and scored all of my top folding card bases ahead of time. I also cut all of the mats ahead of time.
- Repeat elements: This was one of the biggest time savers for this group of cards.
- Use Embossing Folders: This is a great and fast way to add texture and dimension to cards.
- Do all cutting/foiling at once: This was extremely helpful for me. Foiling all of the elements at once helped me keep track of all the supplies/cards and also allowed me to use scrap foil (eliminating waste) for some of the cards.
- Last but certainly not least, HAVE FUN! That’s what crafting is all about right??
This First set of cards was created using the Sparkling Holidays Paper Pad and Sparkling Holidays Die Cut Shapes. Each card sits on a top folding A2 (4 1/4 in x 5 1/2 in) card base. I used a combination of mirror and glitter card stock for mats. I also used silver twine to accent three of the cards. All of the other elements are die cut shapes from the Spellbinders sets mentioned above.
The second set of cards was created using Glimmer Hot Foil and the Reindeer Games Hot Foil Plate. These cards also sit on top folding A2 (4 1/4 in x 5 1/2 in) card bases. These cards feature two mats. The first set was embossed using a snowflake and dotted embossing folder. The second mat layer was created using mirror card stock. Some of the folding was done using one solid color and the rest was done by combining scrap pieces of foil.
Special Tip for using foil: If you experience over foiling DON’T THROW YOUR PROJECT AWAY!! Simply grab a sand eraser and gently remove the excess foil.

Before using sand eraser to remove excess foil.

After using a sand eraser. I used heavier pressure in areas like the corners and light pressure around the letters.
This final set of cards was created using Glimmer Hot Foil and the Faux Happy Holiday Glimmer Hot Foil Plate. Like the foiled cards above, these cards feature two mats. The first set was embossed using a snowflake and dotted embossing folder. The second mat layer was created using mirror card stock. Some of the folding was done using one solid color and the rest was done by combining scrap pieces of foil. I also added ribbon to the bottom of each card.
There you have it. Easy ways to create lots of cards, real fast!. These will be sent out this week. I hope they bring the recipients lots of JOY!
Thank you so much for stopping by. I hope that you have seen something here that inspires you to create your own little work of art. Until next time, don’t forget to spread kindness! – Ouma
Supplies
Need to find the products used to create this card? Most are listed below. Click on the icon below each picture to learn more. (This is NOT a sponsored post). All products were paid for by me. The post does however contain compensated affiliate links which can be used at no cost to you. Thank you so much for support!


