Hello and Happy Friday!! I don’t know about you but this week has really felt like the days were passing at a snails pace. It has been a rather dreary day here in Southeast Texas. Cloudy and rainy and not a bit of sun. With that in mind today I am coming to you with a couple of rainbow themed greeting cards and a matching sublimated mug. I’ll also be sharing a small but impactful mistake I made on my first go around with the mug (I was not happy with myself). Hopefully sharing my gaff will keep someone from falling down the same rabbit hole.
This blog contains paid advertising banners and affiliate links (Shopping/Affiliate Disclosure). This means that I may get paid a small commission when you shop with a company using a link I provide. Banners and affiliate links may be used at no additional cost to you.
I am not paid by any company to use their products (all products used in my posts have been purchased – by me) and should this ever happen, I will disclose that in a specific post.
As mentioned in previous posts, I love the idea of creating matching sets when crafting. The beauty is that I have so many stamp and die sets that it has been fairly easy (at least so far) for me to find matching or similar images to sublimate. Some I’ve found on DesignBundles and some I’ve pulled from Cricut Design Space. I also like being able to use products from multiple craft companies to create my cards. It’s a great way to make sure that I am making the most of my supplies and it also keeps them from collecting dust (I have SO MANY unopened stamp and die sets).

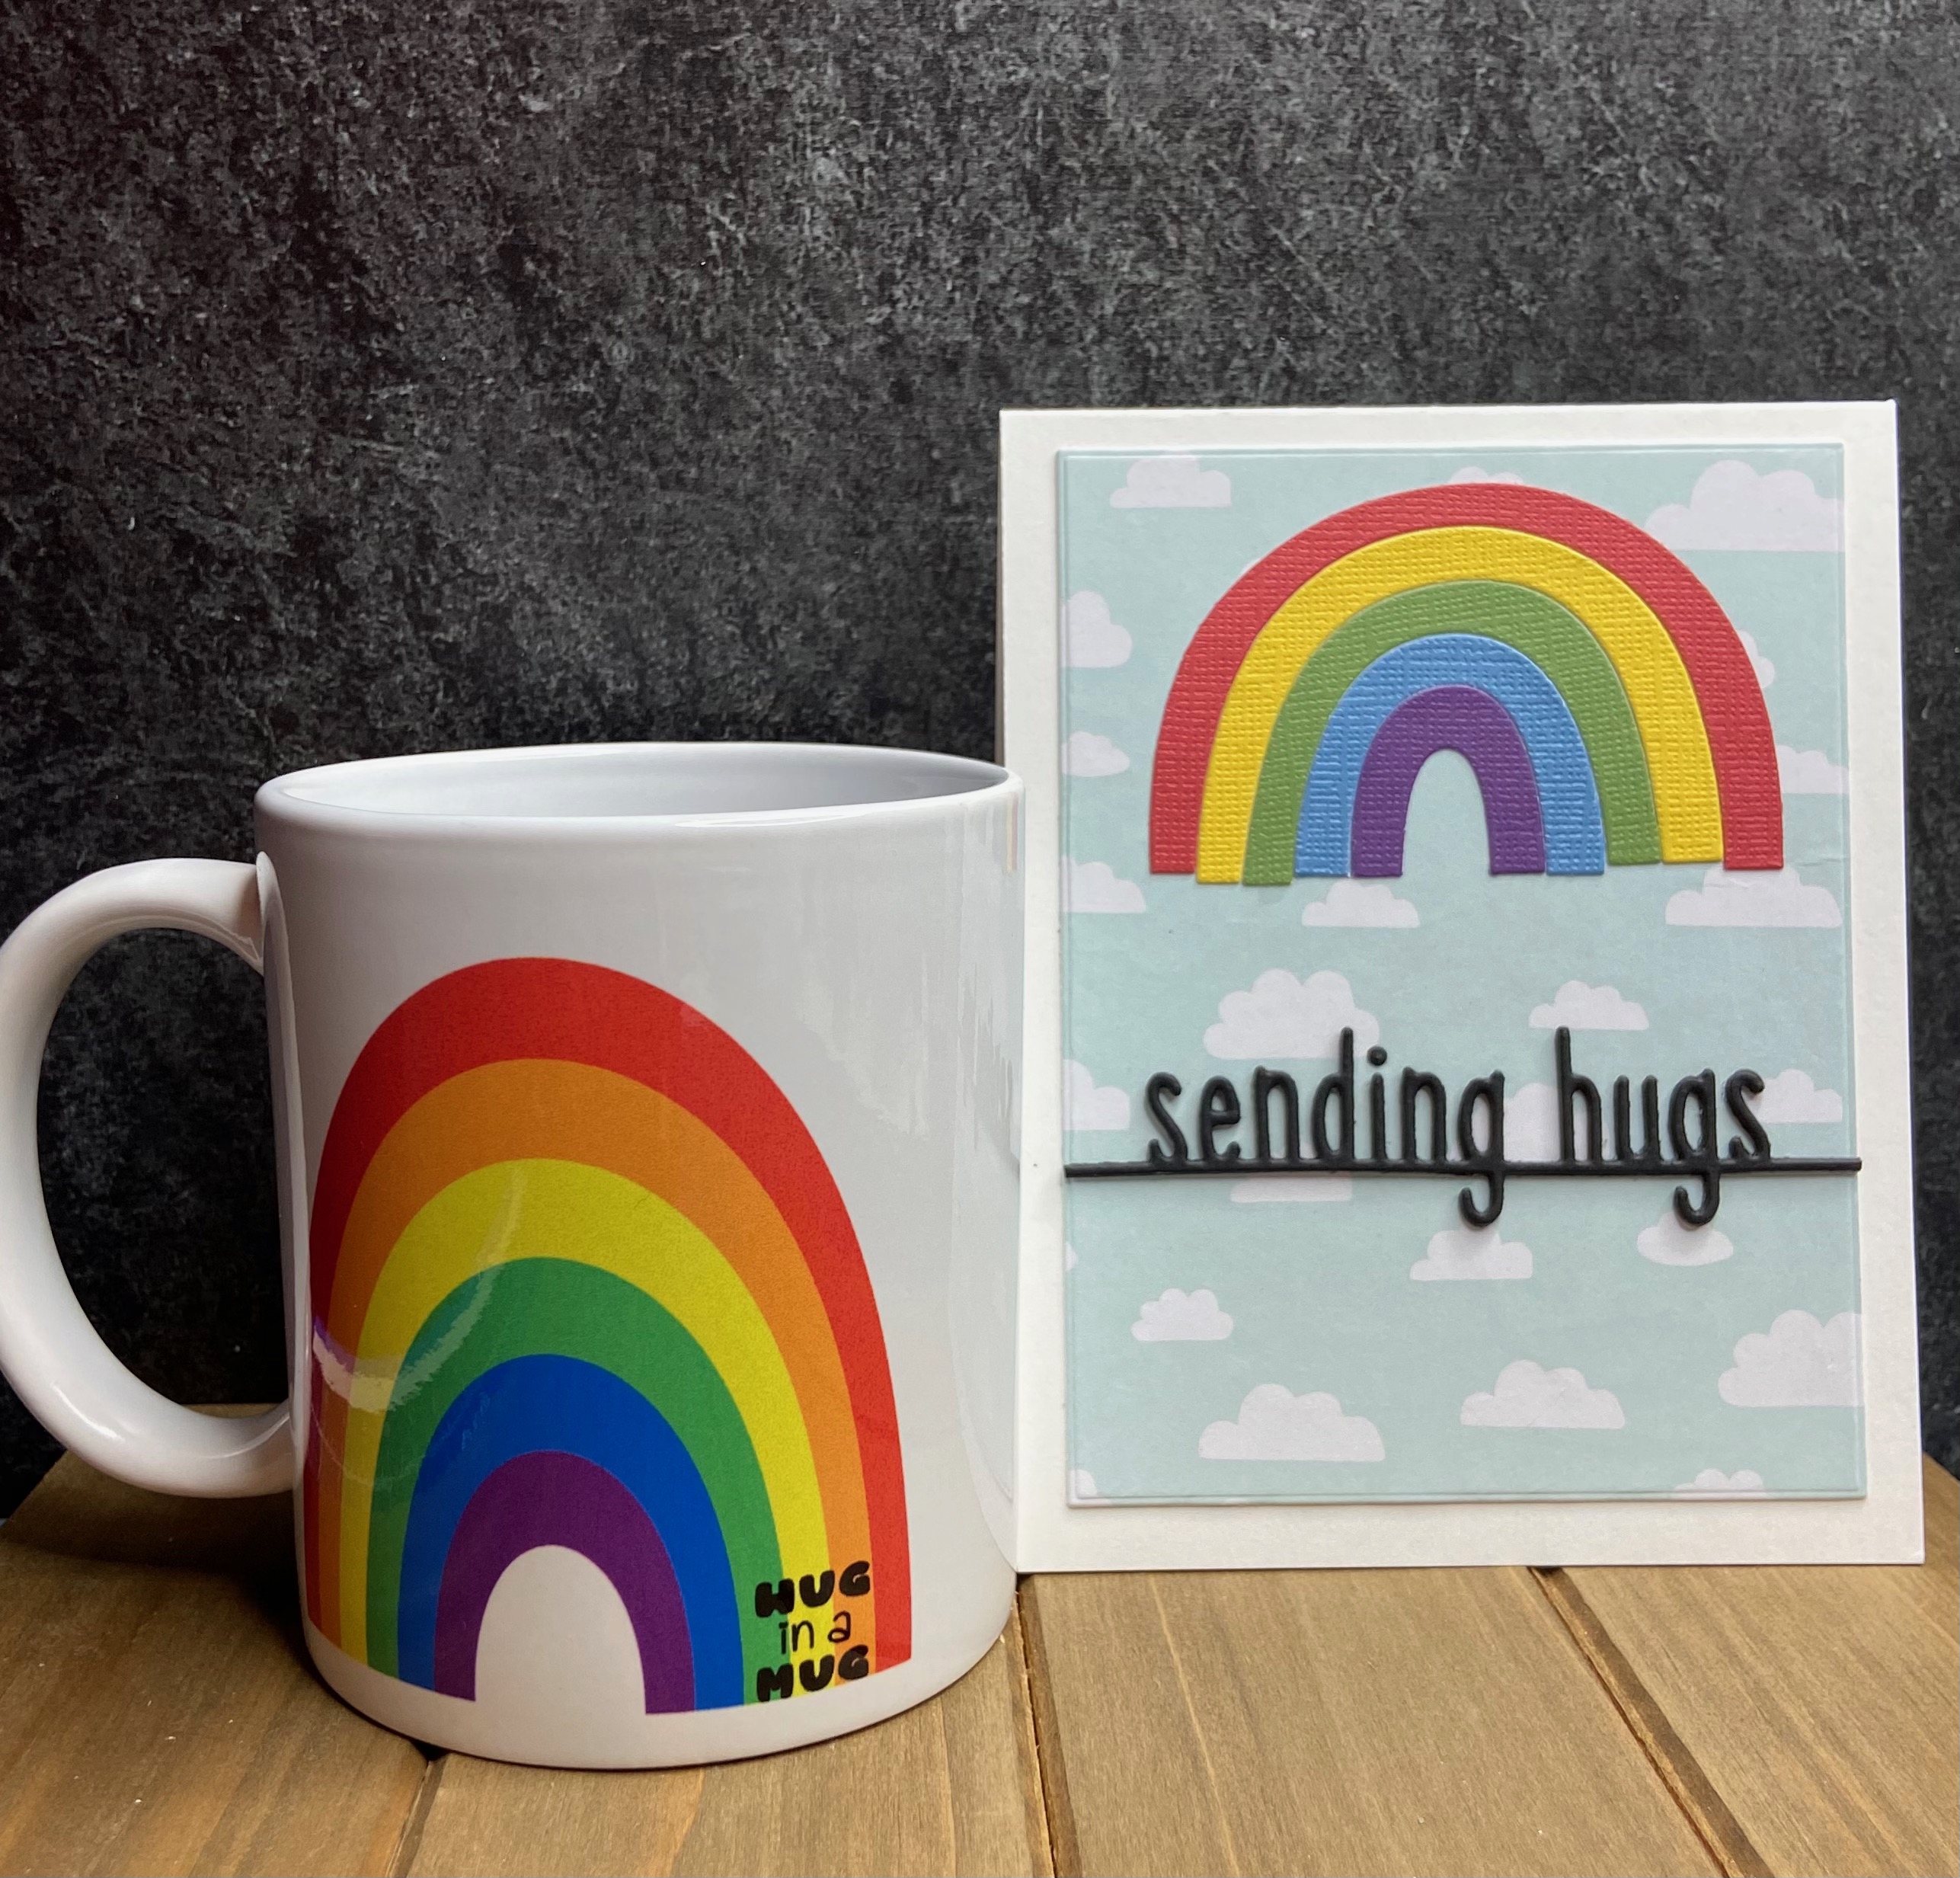
The focal point of my first card is this cute little rainbow that was cut using the Rainbow Whimsy Die from My Favorite Things. I caught it on sale during one of their Wednesday Blitzdays. The paper is textured Cardstock from the Paper Studio (picked up on sale a while back at Hobby Lobby).

After die cutting the rainbow (several times), I looked through my stash and found this cute cloud background. It was a part of the February Card Kit of the Month from Spellbinders (Let Your Heart Soar Paper Pad). I trimmed the patterned paper plus a piece of white card stock using the Waffle Flower A2 Layers Die Set. The patterned paper was secured to the white card stock using strong liquid adhesive.

The patterned paper was then adhered to the front of an A2 sized top folding note card.


My last step was to trim the sentiment to match the size of the cloud back ground (it was slightly longer), adhering it and the textured rainbow using strong liquid adhesive.

My second card also features the whimsical rainbow. For the background, I did a little ink blending with Altenew Ink to mimic a beautiful blue sky. The trick here is to start with the lightest color and blend up to the darkest.
The sentiment stamped on the banner and card front came from the Spellbinders Card Kit mentioned above. The clouds came from Spellbinders December 2020 Card Kit of the month.

Now….here’s where things went awry. After searching the images that I have in Cricut Design Space I finally found a rainbow that I liked and I thought would match the cards I made. I even found a cut little sentiment to add.
Maybe I was tired or just not paying attention (maybe both?) but I had the HARDEST time getting this image setup to print and cut. When I finally got everything aligned properly, I decided that I would just send it to my printer and manually cut instead of letting my Cricut cut for me.
The image printed perfectly! I trimmed the image down removing the black outline. If you aren’t familiar with the print and cut feature on circuit it actually prints a a black line around your image. When you feed the cutting mat into the machine it recognizes the line and cuts around the image (using the line as an outer guide).
After trimming the image, I warmed up my Mug Press, secured the image and placed it into the press. As soon as I removed the layers of printer paper (used to keep the sublimation ink from bleeding through) I KNEW I’D MESSED UP. Apparently I didn’t trim the entire guide line and this was the result! It sublimated onto my mug. I really wanted to kick myself.

Instead, I took a deep breath and started over. I grabbed a fresh mug and reprinted the images. I trimmed the guidelines (triple checked to be sure) again, secured the image to my mug and pressed. This time it came out perfectly!!!

I love the way it turned out (the second time around lol). It was a great reminder that sometimes things go wrong when crafting. When they do take a deep breath, reset and remember that mistakes are part of learning. In the end I have two rainbow mugs, even if one is slightly flawed.
There you have it. I hope you enjoyed this post. I know that I thoroughly enjoyed creating everything that you see. Thank you so much for stopping by. I hope that you have seen something here that inspires you to create your own little work of art. Until next time, don’t forget to spread kindness! – Ouma
Supplies
Need to find the products used to create these craft items? Click on the icon below each picture to learn more. (This is NOT a sponsored post). All products were paid for by me. The post does however contain compensated affiliate links which can be used at no cost to you. Thank you so much for your support!

